NW FERMENTS
Get Fermented!
Let us introduce you to the joy of fermentation! We’ll help you demystify the processes, allowing you to ferment with confidence.
Start Your Fermenting Journey with These Popular Products
You might be wondering where to begin on your fermentation journey.
Whatever your lifestyle & dietary needs may be, we’ve got a culture for you.
Sourdough Starters
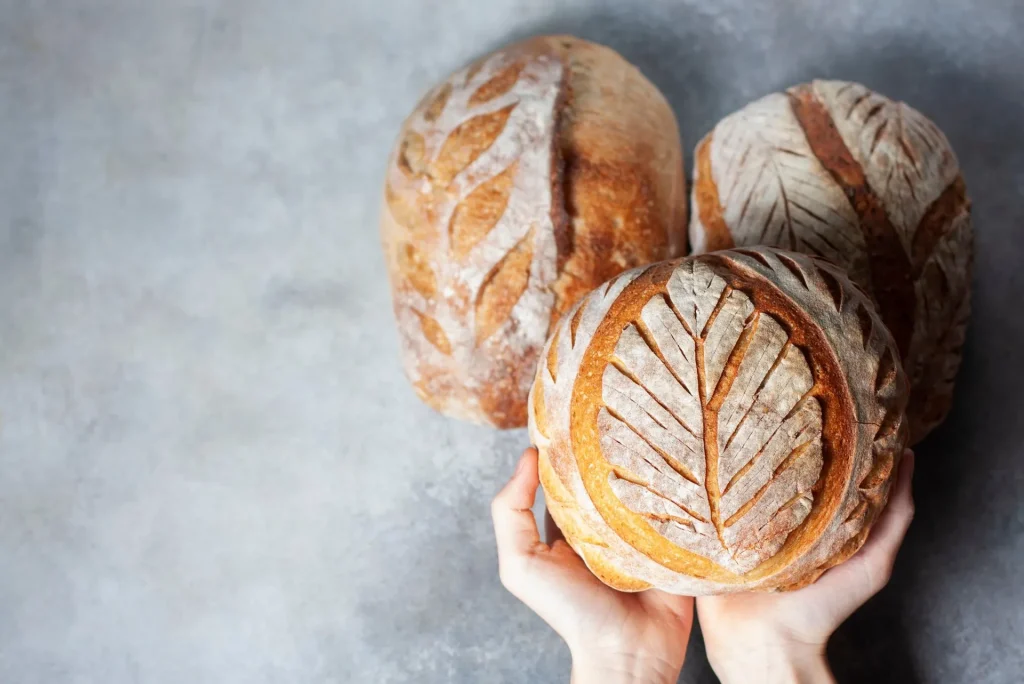
Choose from our sourdough starters and kits to make San Francisco, Camaldoli, Yukon, Danish, Desem, or Gluten-Free sourdough varieties.
Yogurt Starters
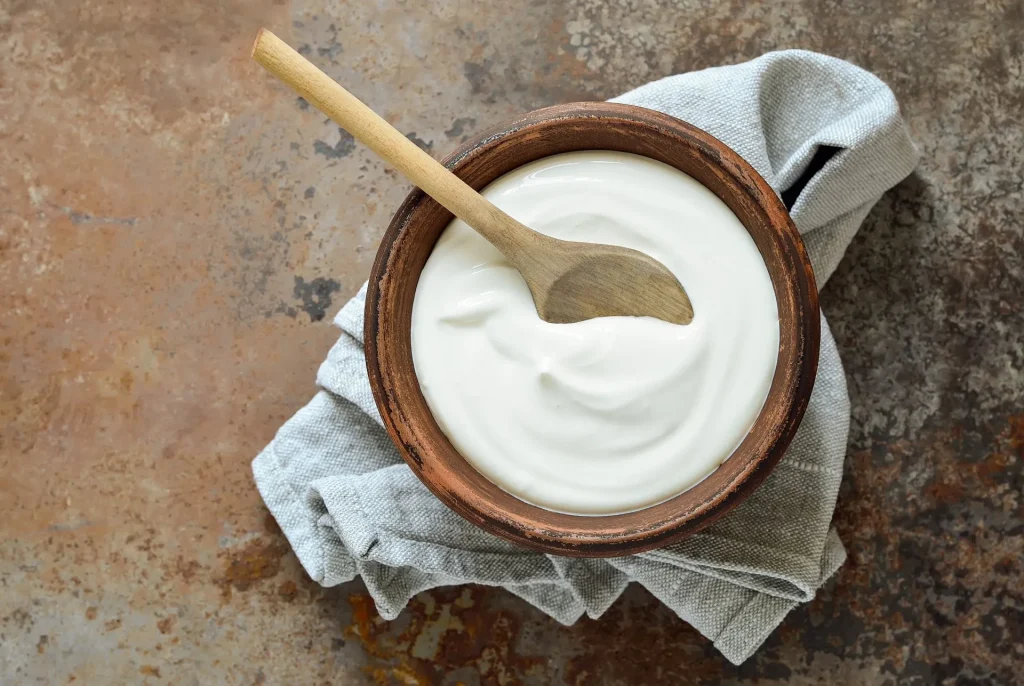
Try our heirloom yogurt and buttermilk varieties. Many culture at room temperature (mesophilic), some require heated culturing (thermophilic). Vegan? We’ve got a yogurt starter for you too!
Starter Kits
Making fermented foods and beverages is easy to do. Our kits come with the starter culture, as well as supplies, ingredients, recipes & instructions to get you on your way.
Kefir Cultures
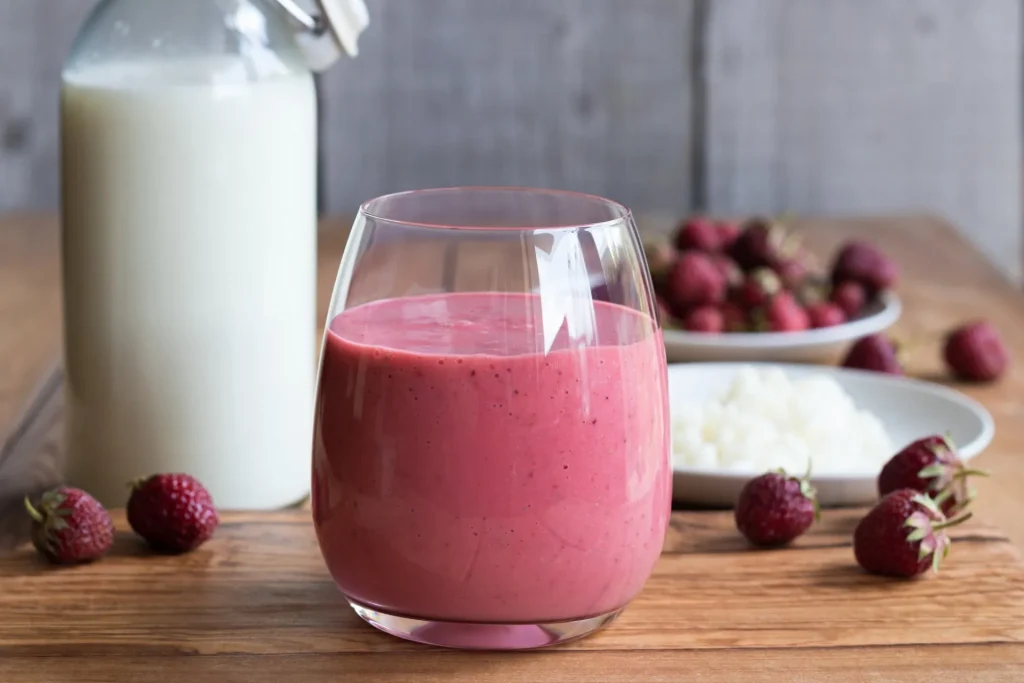
Milk kefir and water kefir pack a nutritional punch (and they’re gluten free to boot). We offer milk and water kefir grains, as well as kefir starter- which is great for travel, or for those that don’t want the maintenance of grains.
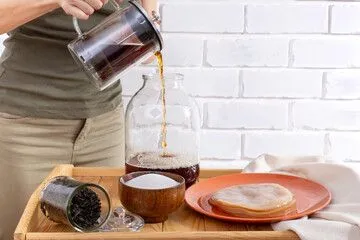
Kombucha Cultures
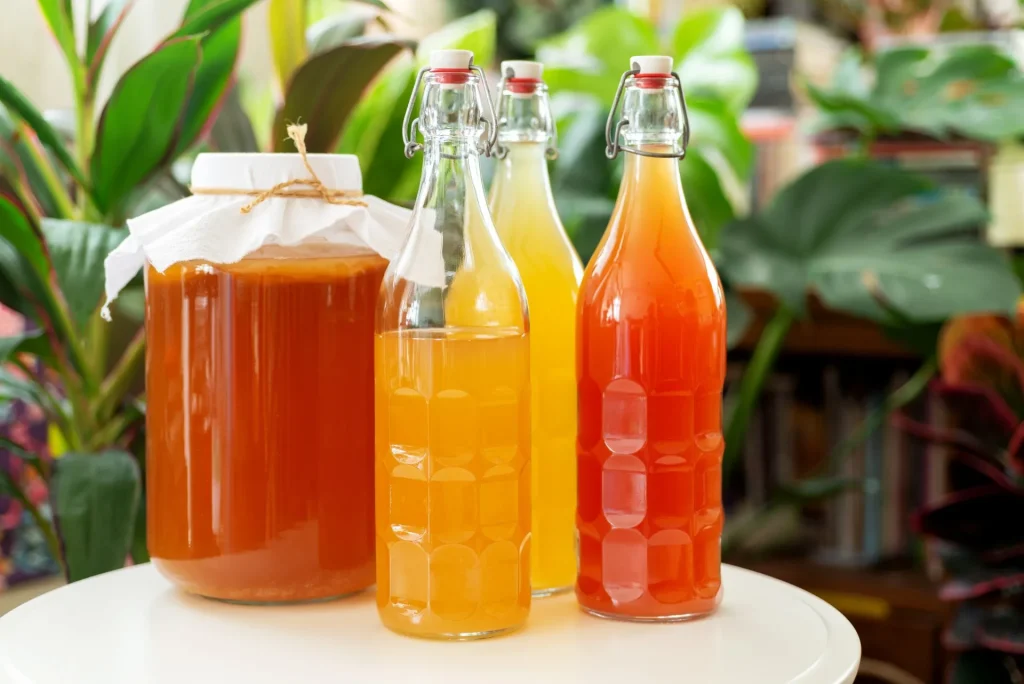
Save money by making your own healthy kombucha at home. Easy to make, and it can be flavored however you like.
Cheese Cultures
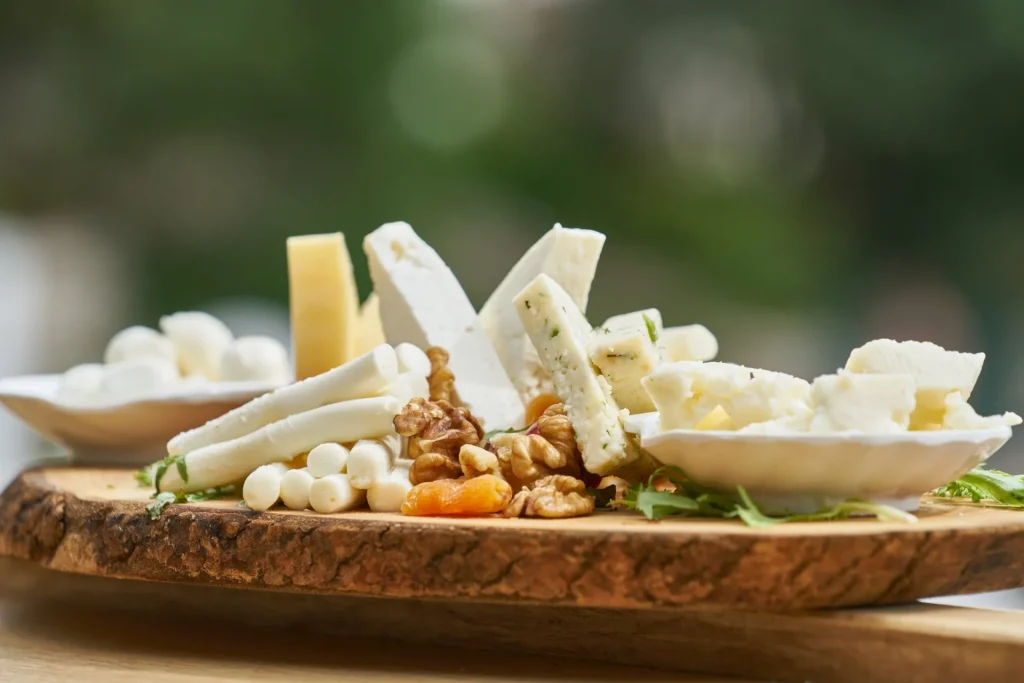
We offer a wide variety of cheese cultures and rennets for the seasoned cheesemaker or the novice.
Tempeh Cultures
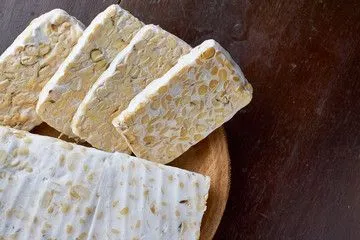
Tempeh is a great source of protein, and easy to make. Can be made using beans, grains, rice, or a combination of the three. Requires a heat source for incubation.
About Us
Good friends with a shared interest in fermentation, Wendy and Sue started NW Ferments in 2015. Since then, they’ve helped people discover ways to improve their health while saving money by controlling what’s in the fermented foods they eat.
NW Ferments uses top quality ingredients for their starters- from organic, non-GMO, and local (when possible) sources. They also strive to keep a minimal carbon footprint with green practices- recycled & recyclable materials and excess by product goes to local farm animals.
Wendy and Sue bring their sense of humor and fun to fermentation, and every other area of the business. a company that makes fermenting easy for newcomers and experts alike.
Helping Our Customers Succeed At Home Fermentation
What do our customers think of our efforts? Here’s what they say!
Just made San Francisco sour dough for the first time. Turned out fantastic, very happy with the product. These girls are great, I found their videos on YouTube (funny as hell). Cheers to them.
Mike J.
NWFerments is always really helpful when I have questions. They know tons about all types of fermentation. Veggies, pickling, cheese, water kefir, kombucha - nothing has stumped them yet. I send all my friends to them when they ask about the ferments on my kitchen counters. I highly recommend buying direct through them!
Robert F.
I've ordered several different products and have had great success with the instructions provided. Great service and fast shipping. I will be ordering again soon.
Kari S.
Shop Locally, Find A Store Near You
Besides shopping on our website, you can also find our products at many natural food, homestead and brewing supply stores.
Common Questions
About Home Fermentation
What Is Fermentation and How Does It Work?
Fermentation is the chemical breakdown of a substance by bacteria, yeasts, or other microorganisms.
This process makes foods more bioavailable & easier to digest. Fermentation is also a simple, natural way to extend the life of produce and dairy.
What Foods Are Fermented?
The types of food that can be fermented are practically endless. Vegetable and dairy fermentation is very common worldwide, but it doesn’t end there. Kombucha, kefirs, yogurt, sourdough, tempeh, and cheese are more great ways to have a variety of fermented yumminess in your diet. At NW Ferments, we love our kombucha, sauerkraut, fermented tomatoes & hot sauce!
What Is The Purpose Of Fermenting Foods?
The purpose of fermentation may have begun to extend the harvest, but it’s now become a whole way of life for many. It’s a great thing to know what’s in your food, have the ability to help digestive issues, and save money to boot!
What Are The Health Benefits of Eating Fermented Foods?
The beneficial bacteria found in fermented foods work like probiotics in your digestive system, chasing away bad bacteria and helping to balance your gut flora. This, in turn, can help you more easily process the food you eat and stay more regular (or keep your “pooper” moving, to put it plainly). Balanced gut health also positively impacts many other areas of your body and mind.
Why Is Home Fermentation So Beneficial?
Fermenting your own foods just makes sense. The quality can rarely be matched by what you find in the store. Commercially produced foods usually contain unwanted preservatives, colors, thickeners, and other additives. Many fermented beverages are actually pasteurized for longer shelf life, killing much of the good bacteria.
With homemade, you can control what goes into your food, help avoid allergens, and -last but not least- save a bunch of money!
Ready to improve your health? Check out our online store now.
What Is The Best Time Of Year To Ferment?
You can ferment your foods year-round as long as you keep the temperature in mind.
The ideal temperature is 68-74 degrees to help ensure success. With lower temps, fermentation will go slower- but mold can creep in if there’s not enough activity. With higher temps it will go more quickly- but too high and you can risk damaging your cultures.
If your home stays a little too cool, try wrapping a towel around & under your container and put it in the warmest place in your home.
Always keep an eye out for the change of seasons (sometimes it sneaks up on you). You may need to adjust the location or cautionary practices.
What Is A Second Fermentation?
Secondary fermentation is a way to flavor your finished fermented beverages and also add a little fizz. Add fruit, juice, herbs, or other flavorings to your finished kombucha, water kefir, or milk kefir (be sure to remove the grains or SCOBY first). Seal tightly in your container & allow to ferment for another day or two. The addition of sugars (fruit, etc.) causes more fermentation, infusing flavor & adding effervescence. Keep an eye on your container, as gasses can build up. If your lid starts to bulge, you can “burp” it to release the gasses.
Is Fermenting Easy?
While the fermenting process is fairly straightforward, there are steps involved that should not be changed for a better chance at success. Our mission is to help you enjoy fermentation while demystifying the process and reassuring you that “oopsies” do happen to even the most experienced.
How To “Get Fermented!”
Learning The Basics With Sue And Wendy
The NW Ferments family has your back when it comes time to learning the basics of fermenting. Sue and Wendy have been fermenting for years, partnering even before they started the business. They want you to be successful in fermenting at home, so check out our “how-tos” for tips and tricks as you get started.
If you still need help, reach out! Our customer service team is happy to answer questions about our products- Email, call or message.
Fermenting Recipes
Does your mouth water when you think about tangy sourdough bread, strawberry lemonade water kefir, or experimenting with creating a whole grain kombucha mustard?
Our recipes guide guide you through the basics of new foods you can enjoy making at home, then sharing with family and friends.


Sign up for our Newsletter
Subscribe to our newsletter for the latest sales, recipes, new releases, and a whole lot more. We do not share or sell your information.