Learn the Joy of Fermentation
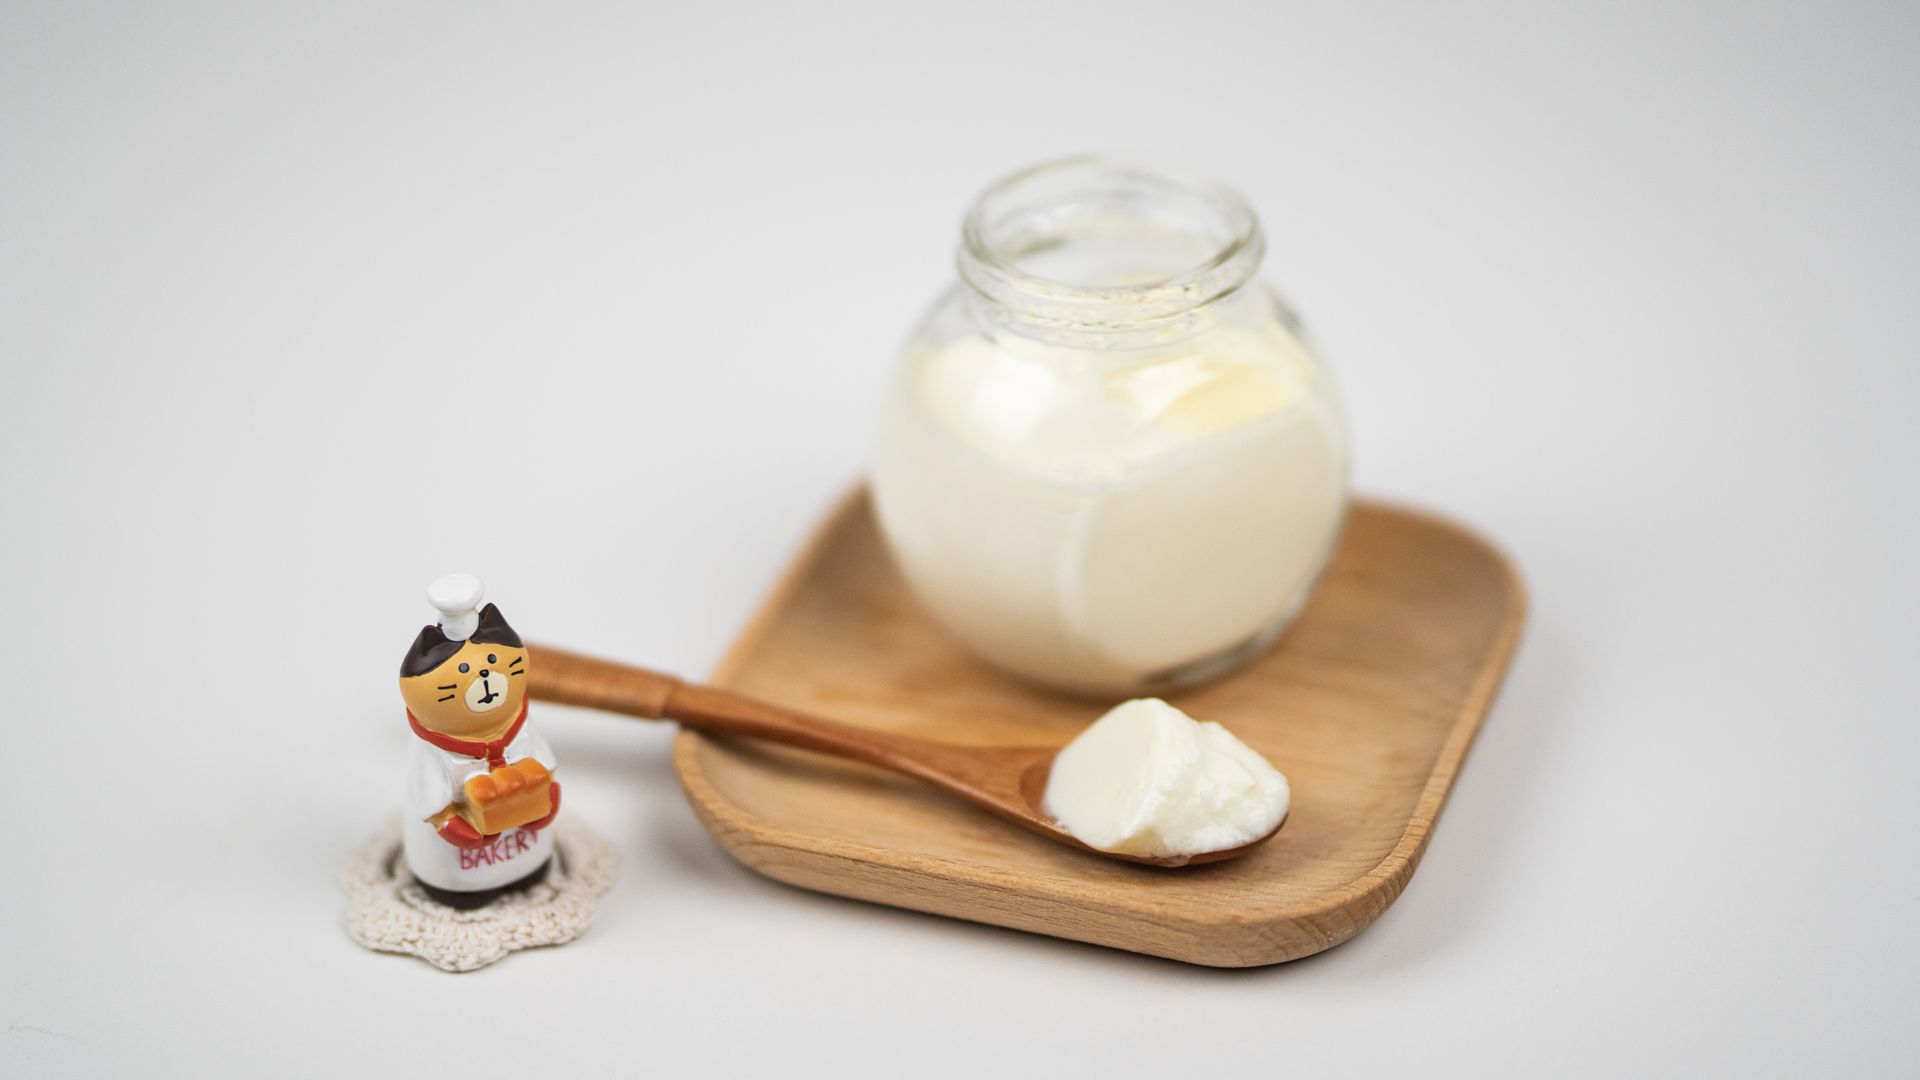
The primary difference between mesophilic and thermophilic yogurts is the temperature at which they are cultured (fermented). Mesophilic Yogurt: Filmjolk, Matsoni, Piima and Viili varieties Culturing Temperature: Mesophilic yogurts culture at room temperature, typically between 70-80°F (21-27°C). Ease of Preparation: They are easier to make at home because they don't require extra heating. Texture: Mesophilic yogurts tend to be thinner, ranging from spoonable to drinkable, with Viili being a notable exception that has a very thick and ropy texture. The yogurt can also be strained to get a thicker result. Flavor: These cultures usually have a milder, more subtly tart flavor compared to thermophilic yogurts. Probiotics: Mesophilic yogurts often have a greater diversity of probiotic strains, as they can thrive from the natural bacteria present in the milk due to the room temperature fermentation. Yeast Content : They may contain small amounts of yeast due to room temperature fermentation, which can pick up airborne yeast. Thermophilic Yogurt: Greek and Bulgarian varieties Culturing Temperature: These cultures thrive in higher temperatures, around 90-110°F (32-43°C). Preparation: Making thermophilic yogurt at home usually requires a yogurt maker or a controlled heat source to maintain the necessary temperature. Texture: Thermophilic yogurts are typically thick and more spoonable, with Greek yogurt being a well-known example. Flavor: These cultures generally have a stronger tart or sour flavor, which can be adjusted by varying the fermentation time. Probiotics: These yogurts usually contain 4-6 probiotic strains selected for desirable traits like taste and potential health benefits. Yeast Content: Yeast is unlikely to thrive in the high temperatures used for fermenting thermophilic yogurts.
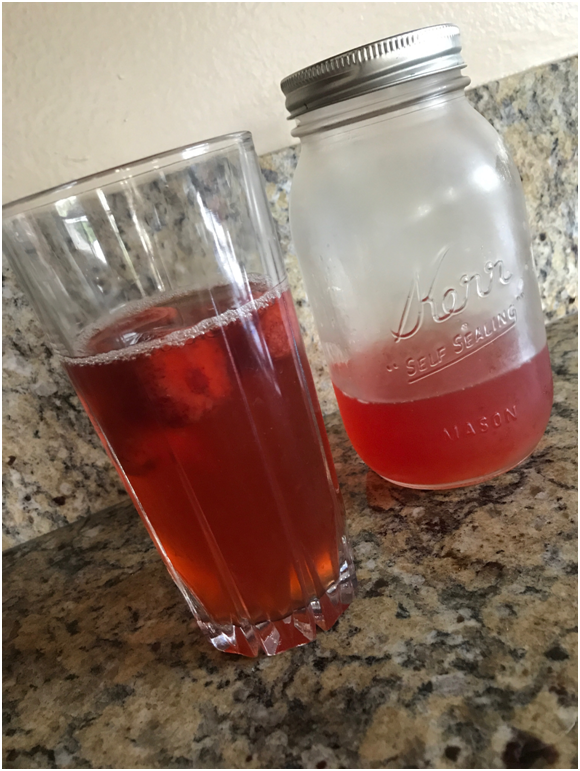
In warmer weather, kombucha fermentation speeds up. If your kombucha is brewing too quickly and/or becoming too strong, there are things you can do to manage this. Consider moving your brew to a cooler location in your home, using less starter tea, and tasting more frequently to avoid over-fermentation. If temperatures are consistently high, you may need to shorten the fermentation time or even consider taking a break temporarily from brewing. Tips for Warm Weather Kombucha Brewing: Temperature Control: Find a cooler spot: Move your vessel to a cooler area of your house, like a pantry, closet, or even a basement (if dry and mold-free). Avoid direct sunlight: Keep your brew out of direct sunlight, as it can overheat the brew. Monitor temperature: If your home gets very warm, you may need to adjust fermentation time or consider cooling the brew, potentially using a refrigerator for short periods. Starter Tea: Reduce starter tea: In warm weather, your kombucha will ferment faster, so you may want to use slightly less starter tea (finished kombucha) than usual. Fermentation Time: Taste test frequently: Because fermentation is faster in warmer weather, taste your kombucha more often to determine when it's reached your desired level of acidity. Start tasting at one week. Shorten fermentation: You may need to decant your kombucha sooner than usual to prevent it from becoming too strong tasting. Over-fermented Kombucha: Don't discard: If your kombucha does over-ferment, don’t toss it. You can use it as a strong starter tea for a future batch or dilute it with sweet tea or fruit flavoring to balance the acidity. It can also be used in dressings & marinades- anywhere you’d use vinegar Find recipes here: Kombucha Marinade Whole Grain Kombucha Mustard Kombucha Salad Dressing

Ingredients 1¼ cups warm water (254 grams) 1½ tablespoons honey (40 grams) ⅔ cup sourdough starter, active and bubbly (110 grams, fed at 100% hydration) 4 cups all-purpose flour, spooned and leveled (500 grams) 2½ teaspoons salt (14 grams) Instructions Melt the honey in the warm water then stir in the starter until combined. Add in the flour and salt then mix until a shaggy dough forms. Knead the dough until it becomes smooth. If using a stand mixer with a dough hook attachment this will take about 4-6 mins on the lowest speed or knead by hand. Cover and let rise in a warm place until it has increased by about 50% (about 8-12 hours, depending on the room temperature). After rising, turn the dough out onto a clean work surface and divide into 8 equal pieces. Form each piece into a ball by pulling the dough to the center and pinching it closed, making the surface of the ball as smooth as possible. Poke a hole through the center of the ball and gently pull into a bagel shape. Place the formed bagels on parchment paper (cut the parchment paper into individual pieces for each bagel to make it easier to transfer into boiling water later). Cover and let rise until the bagels become puffy (about 1-3 hours). Boil about 6 cups of water in a pot and stir in 1 tablespoon of sugar. Preheat the oven to 425°F with the rack in the center of the oven and with a pan of water to create steam as the oven heats up. After rising, boil the bagels for 30 secs to 1 min on each side (the longer the bagel is boiled, the less it will rise in the oven and the chewier the bagel will be). Place on a baking sheet after boiling. Remove the pan of water from the preheated oven and bake the bagels for about 14-16 mins, until they are lightly brown. Notes: *We highly recommend using the mass to measure ingredients as this is most accurate when baking* *100% hydration means that an established starter is fed 1 gram of water for every 1 gram of flour* *Sourdough starter is active and ready to use when a small amount floats in water*

Ingredients ¼- ⅓ cup sourdough starter, active and bubbly (50 grams, fed at 100% hydration) ¾ cup water (175 grams) 1 teaspoon olive oil (5 grams) 1 teaspoon salt (5 grams) 2¼ cups all-purpose flour, spooned and leveled (260 grams) Cornmeal Instructions Mix together starter, water, oil, and salt. Add flour and combine until all flour is hydrated. Place into a lightly oiled bowl, cover, and let rest for 30 mins. After resting, stretch and fold the dough: first, moisten fingers to prevent sticking then take one edge of the dough and pull up then press it back into the center of the dough. Turn the bowl and repeat with the next edge, continuing until the circle is complete (about 8 folds). Cover the dough again and let rest for another 30 mins. Stretch and fold the dough for a second time using the same technique. If time allows, stretch and fold the dough a third time after another 30 min resting period. Cover and let the dough rise until almost doubled in size (about 8-12 hours). After rising, gently turn the dough out onto a generously floured surface. If you wish to divide the dough now would be the time to do so. Dust the dough with flour then gently shape into a ball (or balls), making the top surface of the ball(s) as smooth as possible. Place into a lightly oiled bowl(s), cover, and let rise for about 1-2 hours. Preheat the oven with a pizza stone to 500°F for about 30 mins before baking. Spread cornmeal over parchment paper and turn the ball of dough out on top. Stretch and pull from the underside of the dough to make a pizza shape. Spread toppings over the pizza then cut the parchment to the edge of the dough. Transfer to the preheated pizza stone and bake for about 6 mins. Remove the parchment then bake for another 3-6 mins, until the bottom is crisp to personal preference. Notes: *We highly recommend using the mass to measure ingredients as this is most accurate when baking* *100% hydration means that an established starter is fed 1 gram of water for every 1 gram of flour* *Sourdough starter is active and ready to use when a small amount floats in water*
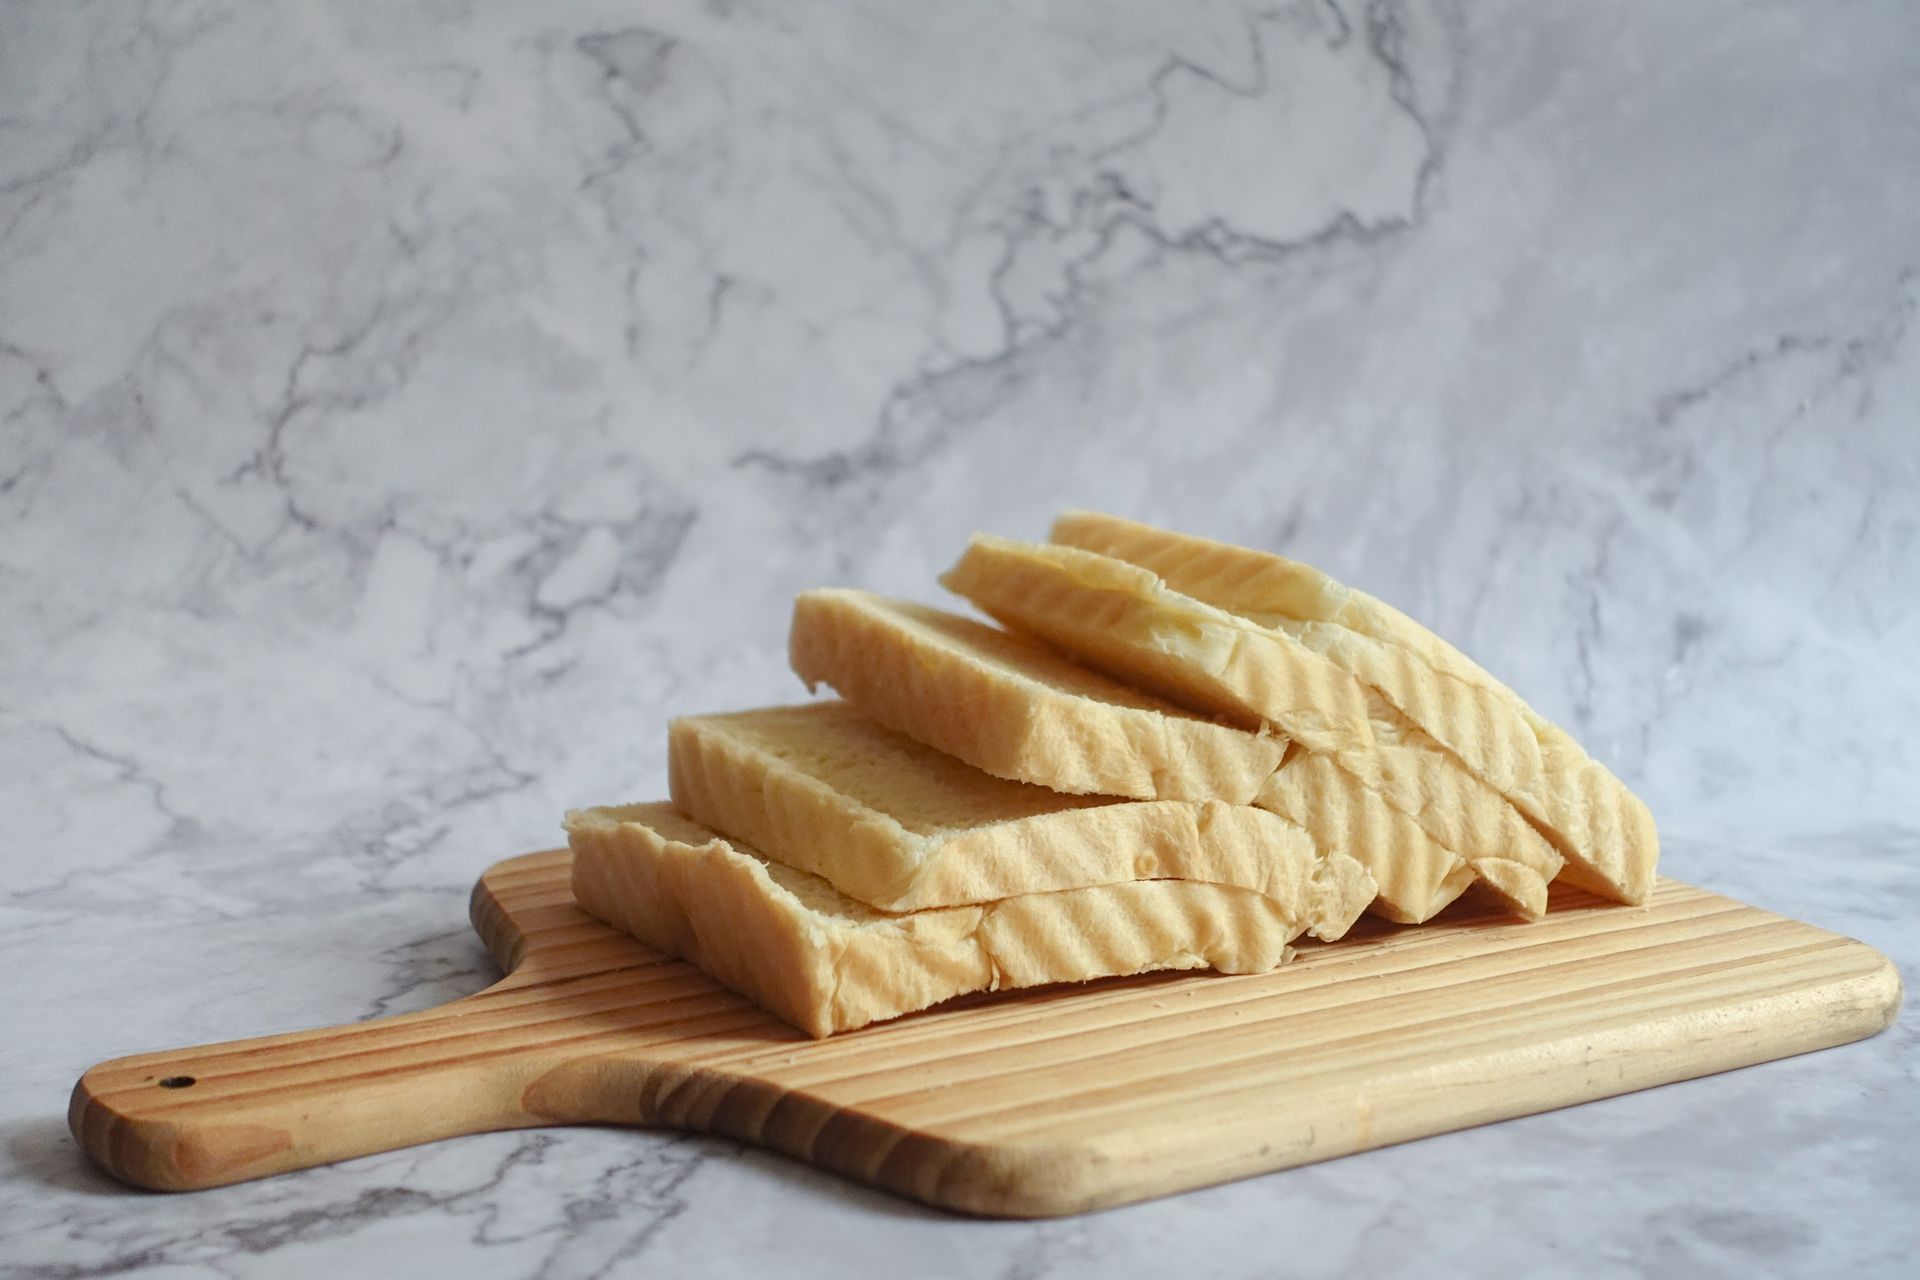
Ingredients 4⅓ cups all-purpose flour, spooned and leveled (510 grams) 4 tablespoons salted butter, softened (56 grams) 1 tablespoon sugar (14 grams) 2 teaspoons salt (10 grams) 1¼ cups warm water (280 grams) 1½ teaspoons honey (12 grams) ¼-⅓ cup sourdough starter, active and bubbly (50 grams, fed at 100% hydration) Instructions Dissolve the honey into the warm water then stir in the starter until combined. In a separate bowl, mix together the flour, butter, sugar, and salt. Add in the liquids and stir until all the flour is hydrated. Cover the bowl and let rest at room temp for 30 mins. After resting, knead the dough for about 6 mins using the dough hook attachment in a stand mixer or by hand. The dough should be smooth and tacky. Place in a covered bowl and let rise overnight, until almost doubled in size (about 8-12 hours). Once risen, gently turn onto a lightly floured surface and let rest for about 8 mins. Prepare a buttered 9” by 5” loaf pan. Gently pull the dough into a rectangular shape, roll the rectangle into a log then tuck both ends of the log underneath. Clean the surface of excess flour. Make the top surface of the log as smooth as possible by pulling excess dough toward the underside of the log using hands and bench scraper. Once shaped, the log can be placed in the 9”x5” loaf pan. Cover and let rise until puffy (about 3 hours). Preheat the oven to 500°F. When bread goes in, lower the oven temperature to 375°F and bake for about 35-40 mins or until the top of the bread is browned. Let the loaf rest in the pan for about 15 mins before removing and let the loaf cool completely before slicing. Notes: *We highly recommend using the mass to measure ingredients as this is most accurate when baking* *100% hydration means that an established starter is fed 1 gram of water for every 1 gram of flour* *Sourdough starter is active and ready to use when a small amount floats in water*

Try it with meats, veggies, tempeh, tofu & more. A great way to use extra strong Kombucha! Ingredients: Kombucha- the stronger the better! Oil of your choice- high smoke point oils are best Garlic- minced fresh or powder Onion- minced fresh or powder Salt- not too much, it can cause meat to dry out (more can be added during cooking) Black pepper Chile flakes Instructions: Use 1 part Kombucha to 3 parts oil. All other ingredients are to taste. You’ll need ½ cup marinade per pound of meat or veg. Optional additions: Smoked Salt or Liquid Smoke Lemon or Other Citrus Juice Dried or Fresh Herbs- Oregano, Basil, Rosemary, Thyme, Sage, Bay Leaf Paprika Celery Seed Turmeric- adds color as well as anti-inflammatory properties Worcestershire Ginger Marination times: Veggies 15 to 30 minutes Seafood 15 minutes to 1 hour (not too long, it can become mushy). Poultry 30 minutes to 1 hour Other meats 30 minutes to overnight Tips: Always marinate in the refrigerator. Don’t reuse marinade if used with meat. Don’t marinate in a metal container.
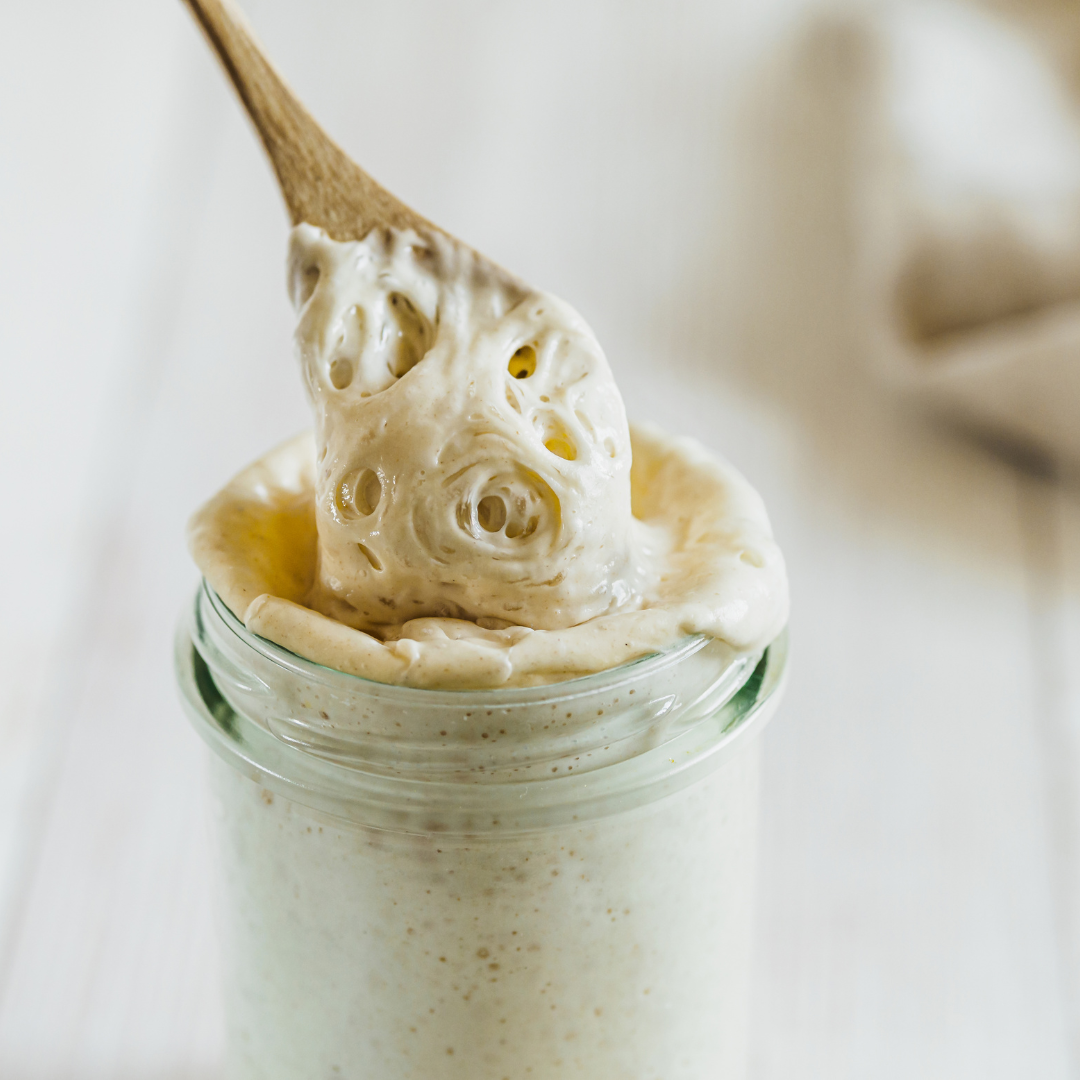
Welcome to the world of cultures! There's much to learn and the more you learn the more you can experiment yourself. It can be an awful lot to take in all at once, so we decided to make a journal of sorts so that if you're new to this world you can pick and choose which cultures are right for you. If you're already a pro, then there might just be some cool historical information or a fun fact you didn't know. If you still have any questions feel free to ask us at info@nwferments.com, or even better come see us in person at one of our markets or classes. Get Fermented! Kombucha Milk Kefir Water Kefir Yogurts Sourdough Cheese Tempeh Buttermilk Kombucha Aaah, Kombucha ! The darling of the health food & fermentation world. Kombucha is a fermented, probiotic beverage. It's made by adding a specific beneficial bacteria to sugared tea and allowing it to ferment on your kitchen counter, at room temperature. The otherworldly organism used is commonly referred to as a SCOBY , which stands for a Symbiotic Colony of Bacteria and Yeast . The SCOBY is a thick, slimy disc made of beneficial bacteria and yeasts, knitted together into a cellulose zoogleal mat, similar to a vinegar "mother". It is often referred to as a mushroom, but it really isn't. The Kombucha SCOBY contains many various beneficial bacteria and yeasts. The bacteria involved usually includes glucan acetobacter xylinus and acetobacter. The yeasts include saccharomyces cerevisiae, brettanomyces bruxellensis, candida stellata, schizo saccharomyces pombe and zygosaccharomyces bailii. These all work harmoniously to improve your digestive health. Origin The exact origin of Kombucha is unknown. It's believed to have been cultivated for over 2000 years, and goes by many different names worldwide. It became known in Eastern Russia as early as 1900, and entered Europe from there. It was first mentioned in German literature in 1913. Kombucha hit mainstream culture in the 1990's, when it began to be sold commercially. Commercial Production While commercially produced Kombucha is convenient, it's not quite as beneficial as homemade. Store-bought Kombucha is generally pasteurized to lengthen shelf life, which kills much of the good bacteria. It also usually has other sugars and additives added. Making your own not only saves you money, but is fresher, has a higher bacterial content, and allows you to control what goes into it. Benefits The nutrients in Kombucha are many, and include enzymes, amino acids, polyphenols, gluconic acid, glycerol, lactic acid, B vitamins, vitamin C, and antioxidants. The benefits include, but aren't limited to, improved digestion, metabolism, and energy, as well as immune system support and detoxification. All of this works to improve your gut health, by populating your digestive tract with beneficial bacteria and yeasts. When first beginning to drink Kombucha, you should ease into it. It can initially have a bit of a diuretic effect, as all the good bacteria begin to evict the bad stuff. But let's face it- many of us could use a good cleaning out! Start slowly, with a small amount each day, until your body is able to tolerate it well. Before you know it, you'll be craving that bubbly elixir. Your gut will let you know! Process The process for making Kombucha is fairly simple. All you need is a SCOBY starter culture, a little bit of finished Kombucha, tea, sugar, and water. Dissolve the sugar into steeped tea. When cooled, add the SCOBY and some finished Kombucha. Cover with a coffee filter, paper towel or cloth, and secure with a rubber band. This allows your brew to breathe. Put in a warm place (70-80 degrees Fahrenheit is ideal), out of direct sunlight, where it won't be disturbed. Usually your kitchen counter is fine. If your house tends to run cooler, think about finding a warmer “microclimate”- on your refrigerator or near an electrical appliance, or wrap a towel around the jar to insulate it. A glass container is ideal for culturing. Never use metal when working with Kombucha. It doesn't play nicely with your SCOBY. Allow this concoction to ferment until it tastes to your liking. Length of time depends on the size of your container, temperature, and how strong you like your brew. It will ferment quicker with higher temperatures, and will become stronger (more tart) with longer fermentation. A quart-sized jar will take about a week, and a gallon sized jar 3-4 weeks. Taste it as you go- it's finished when it no longer tastes like sweet tea, and when the flavor is right for you. Longer fermentation time reduces the sugar content, as the process converts the sugar to glucuronic acid. Kombucha does contain a trace amount of alcohol, usually .5- 1%. Not enough to be concerned about, but those with allergies or intolerance to alcohol should be aware of this. Ingredients Choose your ingredients carefully. The water you use should be non-chlorinated, non-fluoridated, and chemical-free. High mineral content is not necessary, as it is with Water Kefir . In fact, too many minerals can interfere with your SCOBY . Filtered water is fine, or you can also remove any chemicals by “off-gassing”. To “off gas” your tap water, fill a container with water and cover lightly with a breathable cover, then allow it to sit for 24 hours. The chemicals in the water will be removed through evaporation. Black tea is the best for Kombucha . Green tea works and creates a lighter-flavored product, but the SCOBY does like black tea best. You want to use a true tea leaf, not an herbal, flavored, or decaffeinated tea. Flavored teas often use oils for flavoring and the decaffeination process usually involves the use of chemicals. You can, however, experiment with using various teas once you have a backstock of extra SCOBYs. Opt for organic tea to avoid any unwanted chemicals or additives. Regular sugar works best when making your brew. We use evaporated cane sugar. It's a minimally processed form of white sugar. As with your tea, organic is always best. Honey, agave, stevia or artificial sweeteners are not recommended, but you can experiment with alternative sugars once you have extra SCOBYs to spare. Once your Kombucha is ready, you may notice that you now have two SCOBYs! Did we mention that you get a new baby with each fermentation? You can potentially keep making Kombucha indefinitely- how awesome is that? It's a good idea to keep the newest starter, or baby (usually the one on top) for your next batch. This will be the freshest culture. Extra SCOBYs can be shared with friends, used for experimentation, or saved as backup. Be careful not to become a hoarder, though. We know a few people (not mentioning any names) that have one or more jars of SCOBY “hotels” hiding in their refrigerators. Read on for other ideas about using extras. Start your next batch following the same process. Be sure to reserve some finished Kombucha to include with your sugared tea and SCOBY. This is an important element that creates the proper environment needed and helps ensure success. Second Fermentation The finished Kombucha can be enjoyed as is, added to juice or tea, or flavored using a second fermentation. To do a second fermentation: add fruit (almost any kind- preferably organic, washed, and cut into pieces, if necessary), or juice to the Kombucha . Cover with an airtight lid this time. A canning lid and ring are fine, if using a canning jar. Place on the counter at room temperature for another day or two. The addition of fruit or juice (sugar) starts the fermentation process again, creating carbon dioxide gases and infusing your brew with flavor. With an airtight lid, the gases can't escape. They build up and create natural carbonation. Use caution, though. Monitor your container. Watch for any buckling of the lid, and don't leave it sitting for too long. The contents can sometimes build up too much pressure and become slightly explosive. Don't let this scare you off from experimentation, though. Just make sure you use a sturdy container, choose your location strategically (for easier cleanup), and drape a towel over the top for semi-containment. If you do see buckling of the lid, unscrew the lid a bit to release some pressure. When the second fermentation is finished (one or two days is usually sufficient), strain out fruit (optional) and refrigerate to stop the process. It will keep for a very long time refrigerated. Add the used fruit to a smoothie or other recipe. Mold? If, during the process, you ever encounter mold, throw it out and start again. The incidence of this is very rare, and usually is caused by failure to follow the directions properly. Ingredients chosen, ratio of ingredients, and culturing temperature are very important. Taking a Break If you find that you need to take a break from production, place your SCOBY in some fresh sugared tea, cover with a solid lid, and put it in the refrigerator. This will slow down the fermentation process and put your baby to “sleep” until you're ready to start again. Remember that this is a live organism and will eventually need to be fed, so don't neglect for too long. This being said, these cultures are usually pretty resilient and tend to bounce back from all kinds of abuse. It may take a batch or two before the flavor is right, as the SCOBY has to wake back up and get going again. Uses Besides drinking, liquid Kombucha can also be used in dressings, marinades, or anywhere you would use vinegar. Both liquid and SCOBY can used to supplement your pet's diet. Add it to their feed to boost their probiotic intake. Pets can have digestive issues too, and chickens go nuts for SCOBYs! We make a delicious SCOBY candy, and folks are even drying it to make a leather substitute. This is another great chance to use your imagination with experimentation! If you haven't tried this gut-healing, system-regulating Superfood yet, it's time. See what all the fuss is about:) Milk Kefir Kefirs Kefir is a fermented probiotic beverage made by adding "grains" to either milk or sugar water, and allowing to culture at room temperature for 18-48 hours. The term "grains" is used, but they really are gelatinous colonies of beneficial bacteria and yeast. There are two varieties of kefir grains: Milk Kefir and Water Kefir . They may have the same last name, but they are different organisms with very different appearances, yet possess similar probiotic properties. What is Milk Kefir? The more commonly known variety is Milk Kefir . The grains used are whitish colored, gelatinous globs that have an appearance similar to cauliflower. Milk Kefir can also be made with a direct-set Kefir Starter , without the use of grains. This is a powdered starter culture, made for single use. This can be convenient, as it doesn't require the maintenance of grains. The kefir can often be used to culture a second or third batch, but will eventually stop working. Actual kefir grains are preferable, as they are reusable, shareable, and produce a kefir with a much higher beneficial bacteria count. Benefits Milk Kefir is a slightly thickened, pleasantly sour and effervescent drink. It is the Superman of dairy cultures, with an even higher bacterial count than yogurt. It contains 30 different types of beneficial microbes, along with: vitamins A, B2, B12, D, K, protein, folic acid, calcium, potassium, magnesium, phosphate, and iron. Kefir actually colonizes the intestinal tract with good bacteria. It stimulates the immune system, boosts your metabolism, and has antimicrobial properties. 80 percent of your body's immune system is in your digestive tract. Research has shown that Milk Kefir can suppress the growth of pathogens and inhibit the growth of E coli. Those with lactose intolerance often find that they can tolerate Milk Kefir better than other dairy products. This is because the lactose in the milk is converted by the good bacteria, through fermentation, to lactic acid. Lactic acid soothes and heals the gut lining. The grains basically predigest the lactose for you! Origin There is much folklore about the origination of Milk Kefir . It's believed to have been discovered thousands of years ago by shepherds in the Caucasus Mountains. These shepherds stored their milk in animal skins, commonly goat stomachs (mmm!). Wild yeasts fermented the milk and turned it into a thick, bubbly, nutritious drink that provided the shepherds with energy & sustenance. The grains that eventually formed became a well guarded secret, considered to have magical healing powers. The secret was kept until the early 20th century, when a Russian spy "acquired" some. From there, the secret was out, and its use spread through Eastern Europe and the rest of the world. Commercial Production While commercially available Milk Kefir is convenient, and better than none at all, it is not ideal. The techniques used don't allow for the high bacterial content that is found in home made kefir. Most of these kefirs are not made with actual grains, but the powdered Kefir Starter . This makes it easier to get a more uniform product, which is needed in commercial production, but creates a less optimal product. It is not allowed to culture as long, for fear of a slight alcoholic content developing, which is not permitted legally. It is also pasteurized, to stop the fermentation process and allow for longer shelf life. Pasteurization kills the good bacteria you're trying to cultivate, so it kinds of defeats the purpose. Process To make your own milk kefir, the process is fairly simple. With live kefir grains, you add them to your milk (cow is good, and they particularly like goat's milk) in a glass jar. Cover with a coffee filter, cloth, or paper towel, and secure with a rubber band. The grains need to breathe, but this will also keep anything unwanted out. Allow to culture at room temperature (70-77 degrees Fahrenheit is ideal) for 18 to 24 hours. The length of time needed depends on the temperature of the room, the ratio of grains to milk, and your preferred taste. The longer you allow the mixture to ferment, the more tart and tangy it will become. Longer fermentation will also lead to a higher bacterial count. It is ready when it has thickened. It will be slightly gelatinous, effervescent, and will have a pleasantly sour, yeasty smell. Taste it along the way as you experiment and play around to find the right flavor for you. With longer fermentation, your kefir may separate (the whey from the milk solids). This is fine, just stir or shake to mix it back up. When the kefir is finished, strain or remove the grains from the finished kefir. Stirring first will help make it easier to strain. Be sure to use a plastic strainer and a plastic or wooden spoon, as metal can interfere with the bacteria. Place your grains in fresh milk and start the process again. Your finished kefir can then be enjoyed! Too many grains? Over time, your grains will grow and increase in volume. Don't allow yourself to become overwhelmed. They can be shared with friends, pulsed in the food processor, or added to smoothies or other recipes for a super dose of probiotics. Taking a break If you go on vacation or need to take a break from maintenance, your grains can be placed in fresh milk, covered with a lid, and refrigerated. It will continue to ferment, but at a much slower rate. Don't neglect them for too long, though. Remember that they're living organisms and will eventually need to "eat" again! When you're ready to start them back up, take them out of the refrigerator and place them in fresh milk and follow the same fermentation process. After refrigeration, it may take a couple of batches for the flavor to be right again. New to Milk kefir? We recommend that you ease into the consumption of Milk Kefir if it is new to you. It's powerful, beneficial bacteria can initially cause a diuretic, "cleaning out" effect. This happens as the good bacteria begins to populate the gut, killing off toxins as it procreates. Start with a small amount daily, then increase as your tolerance allows. Your body will eventually begin to crave it, and the wonderful feeling in your gut after drinking it! Uses The uses for your finished kefir are practically endless. It can be enjoyed plain or used in smoothies, dips, and sauces. It can be used to replace Buttermilk or sour cream in recipes for baking. It makes a great kefir ice cream or tenderizing marinade for meats. It can be strained through cheesecloth or a yogurt bag to remove the whey (which has many uses itself) and flavored to make a kefir cheese, similar to cream cheese. Milk kefir can also be added to your animal's diet. Animals often have digestive issues too. Watch them go nuts when you mix a little with their regular feed! Water Kefir What Is It? Water Kefir grains, aka “Tibicos”, are gelatinous, crystal-like globs of beneficial bacteria and yeast contained in a polysaccharide biofilm matrix (say that five times fast;). Although they are called "grains", they aren't really so. They grow in sugar water, and turn into a wonderfully bubbly probiotic beverage. Water Kefir is gaining popularity next to it's distant cousin, Kombucha . It has a sweeter, milder, less vinegary flavor than Kombucha, and is a bit more palatable for children and folks who don't enjoy Kombucha. It's also a quicker fermentation process- only 48 hours. It's basically probiotic soda pop! Benefits The beneficial bacteria and yeast in the Water Kefir grains eat the sugars, converting the glucose to glucuronic and other acids, thus reducing the end sugar content. This fermentation process produces beneficial bacteria, yeasts, and acids, along with enzymes, B and K vitamins. Water Kefir typically contains a variety of good bacteria, including: lactobacillus, streptococcus, pediococcus, bacillus, acetobacter and leuconostoc. The beneficial yeasts associated are saccharomyces, zygotorulaspora florentina, lachancea, hanseniaspora and others. All of these wonderful byproducts help to get your gut in proper working order by balancing your internal flora and improving digestion. This in turn helps your overall health- by assisting your immune system, metabolism, and suppressing pathogens. Water Kefir is a great option for those avoiding dairy that still want to incorporate healthy bacteria into their diets. When first introducing it to your regimen, start slowly, with a small amount each day. It can initially have a bit of a diuretic effect, as the good stuff starts to populate your gut, evicting toxins on the way. Increase quantities as your body adjusts. Eventually your gut will begin to crave it! Origin Water Kefir is found worldwide, using many different names. No two cultures are exactly alike, much like we humans. Exact content of bacteria and yeast vary according to geographical areas, methods, etc. Some scientists believe that Tibicos originally formed on the pads of a specific cactus found in Mexico. These hard granules were discovered and rehydrated in sugar water, then cultivated and reproduced. Commercial Production Water Kefir is starting to pop up on store shelves, but it is not always ideal. While convenient, and better than not having any at all, it is not always made with true live grains. Sometimes other bacteria and yeast are used to mimic the flavor of genuine water kefir, or some of the finished product is used for culturing instead of the actual grains. This results in a much lower bacterial content. Store bought kefir is also usually pasteurized to allow for longer shelf life which- you guessed it- kills the good stuff. Ingredients Making your own Water Kefir is fairly simple. Begin with your starter culture and ingredients. If you don't have access to live grains, dehydrated grains work equally well. They just need to be rehydrated, which is easily done. Fresh, hydrated grains are then added to sugar water. Opt for water that is chlorine and fluoride-free, ideally with a higher mineral content. Do not use distilled water, as all of the minerals have been removed. Spring water is excellent, or you can allow tap water to "off gas" (fill a container and let it sit at room temperature, covered with a coffee filter or towel, for about 24 hours. This dissipates the chemicals through evaporation). As for sugar- the least processed, the better. Cane sugar is most appealing, creating a lighter, clearer, more easily-flavored beverage. But less refined sugars (rapadura, turbinado, sucanat) contain more minerals (which help the grains thrive) and add a more molasses-like flavor. A combination of sugars can also be used, to add minerals but make a lighter product. Do not use artificial sweeteners such as stevia or sucralose. Also, do not use agave or honey. If you feel your kefir is mineral deficient, unsulphured dried fruits (such as raisins or figs) can be added, or a liquid mineral supplement is available to boost your mineral content. We also don't recommend growing the grains directly in juice, unless you have enough excess grains for experimentation. Juices will eventually begin to break down your grains. Process Heat a small amount of your water, and mix with the sugar in a jar until thoroughly dissolved. Then add the rest of your water, and stir again. When safely at room temperature, add your Water Kefir grains. Cover with a coffee filter, or other breathable lid, and secure with a rubber band. Allow to culture at room temperature. 70-78 degrees Fahrenheit is ideal, but they're fairly tolerant and will accept temperatures a bit higher or lower. If your house tends to run cool, think of a place that might be a tad warmer. A "micro climate"- maybe on top of your refrigerator or near another appliance, or wrapped with a towel. With fresh grains, it will take 48 hours- give or take, to your taste. If rehydrating, the process will take a bit longer- between 3 and 5 days. It is ready when it no longer tastes like plain sugar water, is bubbly, has a pleasantly yeasty smell, and a slightly sweet-tart flavor. The longer you let it culture, the more sugar will have fermented out, and the more good bacteria will develop. When it is to your liking, remove the grains by straining them through a plastic strainer and reserving the finished product. Do not use metal when working with cultures, as it will interfere with the bacteria. These grains are reusable, and with the right care, will continue to make kefir for years to come. Over time, your grains usually will multiply. If you find that you've got too many, share with a friend, or grind them up in your smoothies for a real blast of probiotics. You can even use the grains or finished product to jump-start your vegetable ferments! After straining the grains out, make fresh sugar water and add them to it, repeating the process for your next batch. The finished Water Kefir can then be enjoyed as is or flavored to your liking. It can be mixed with juice, tea, or flavored with a second fermentation. Taking a Break If you go on vacation and can't find a sitter, or feel you need a break from making Water Kefir , you can put the grains in fresh sugar water and refrigerate. This will slow down the fermentation process and kind of put them to sleep. Don't leave them refrigerated for too long, though- remember that they're living organisms and eventually will need to be fed! When you bring them back out, put them in fresh sugar water. It may take a couple of batches for them to wake up fully, and for the kefir to get back to the right taste. Second Fermentation With a second fermentation, you will add fresh fruit (washed and cut into pieces), ginger, herbs, juice, or any combination of the above. You're only limited by your imagination! Seal tightly with a canning jar lid and ring, or other airtight seal. Then allow to ferment for another day or two at room temperature. But be careful- these contents can become explosive! Make sure that the container you are using is made of strong, durable glass to prevent shattering. Consider draping a towel over your jar, and placing it strategically in case of an eruption. Basically what's happening is this: the addition of more sugars (fruit, etc.) jump-starts the fermentation process again, giving off carbon dioxide gases. These gases are trapped by the tight seal, producing natural carbonation while infusing flavor into your kefir. Keep an eye on your jar. If you see any buckling of the lid, loosen it a tad to allow some of the gases to escape. Once you feel your flavored Water Kefir is ready, refrigerate to slow the fermentation process. The finished kefir will keep for a long time if refrigerated. If you haven't yet tried this delicious beverage, please do- you won't be sorry! Yogurts Do you love Yogurt and its probiotic benefits? Why not make your own? It's easy, fun, will save you money, and help keep your gut healthy! You also can control what goes into it- commercial yogurts often contain sweeteners, thickeners, and other unwanted additives. What’s In It? What Are It’s Benefits? Yogurt is produced by the bacterial fermentation of milk. The yogurt culture, or starter, contains beneficial bacteria- most commonly lactobacillus delbrueckii- subspecies bulgaricus and streptococcus thermophilic bacteria. The fermentation of lactose by these bacteria produces lactic acid, which acts on the protein in milk to create its texture and characteristic tanginess. Cow's milk yogurt is most common- but goat, sheep, mare, camel, yak, and water buffalo milks are also used (where available and palates are willing). Yogurt is a great source of Vitamin B12, riboflavin, selenium, phosphorus, protein, and a host of other nutrients. And don't forget about that beneficial bacteria that can help protect you from all kinds of health issues. Everything starts with your gut health. Digestive, skin, and even mental disorders can be helped by having healthy flora in your system. Those that are lactose intolerant sometimes find that they can tolerate yogurt better than other dairy products. This is because the lactose has been converted to lactic acid by the good bacteria. Origin The exact origin of Yogurt is not known, but it's believed to have begun in Mesopotamia around 5,000 BC. It is likely that the earliest yogurts were a result of milk fermenting spontaneously with wild bacteria when being stored in bags made of goat stomachs. Delicious! Commercial Production Commercial production of Yogurt began in 1919 in Barcelona, Spain. This company later expanded to the US, and now goes by the name Dannon. Yogurt came into popularity in the 1950's-60's when it was deemed a health food, and is now an important staple in many American diets. While convenient, mass-produced yogurts often contain a laundry list of unwanted additives: thickeners, stabilizers, dyes, preservatives, high fructose corn syrup, artificial sweeteners, sugar, carrageenan, gelatin, pectin, pesticides, and a lovely defoaming agent used during the fermentation process, to name a few. Needless to say, making your own yogurt can ease your mind about what you're putting into your body and those of your family

So you've made Kombucha or Water Kefir. Now what? Of course, you can drink it as is, but you can make it even more delicious with a second fermentation! Be sure to remove your grains or SCOBY and start them in a fresh batch of sugared water or tea. The finished product is what you're going to flavor. Directions: You can use fresh fruit or juice. Be sure to wash your fruit well (organic is always preferable). Cut your fruit into chunks or slices. More surface area will help the flavor infuse faster. If using blueberries, crush them a bit first to crack the outer skin. Use 1 to 2 cups of fruit, depending on the flavor level you'd like. If using juice, add a cup or more. The more juice you add, the less you will taste the Kombucha or Kefir. This can be to your taste, depending on how tart you want your finished product. Add the fruit or juice, then seal tight with a canning lid or other airtight lid. This will allow the carbon dioxide gases to build up as the fermentation begins again, creating more bubbles. Be sure to allow a couple inches of head space- this will reduce the chances of a volcanic eruption. Place the jar on your counter for another 2 days, at about 70-80 degrees. Keep an eye on it- if you see the lid start to bulge, unscrew it to release some of the pressure, then reseal. On the rare occasion, if left too long or the temperature is high, carbonation can build up too much & become mildly explosive. You can drape a kitchen towel over the top of the jar for extra insurance. After a couple of days, your delicious elixir will be ready. Be careful when you open the finished product- it can become very fizzy, even more so than soda pop. Store in the refrigerator to stop the fermentation process. Enjoy as is, or add to alcohol for a not-so-guilty cocktail! Flavoring Ideas: strawberries, blackberries, raspberries, blueberries (or a mix of several) citrus slices ginger slices pineapple chunks or slices mango peaches, nectarines, apricots grape juice pineapple juice raw jalapeno slices herbs- basil, thyme, lavender The possibilities are endless, use your imagination!


