
how to

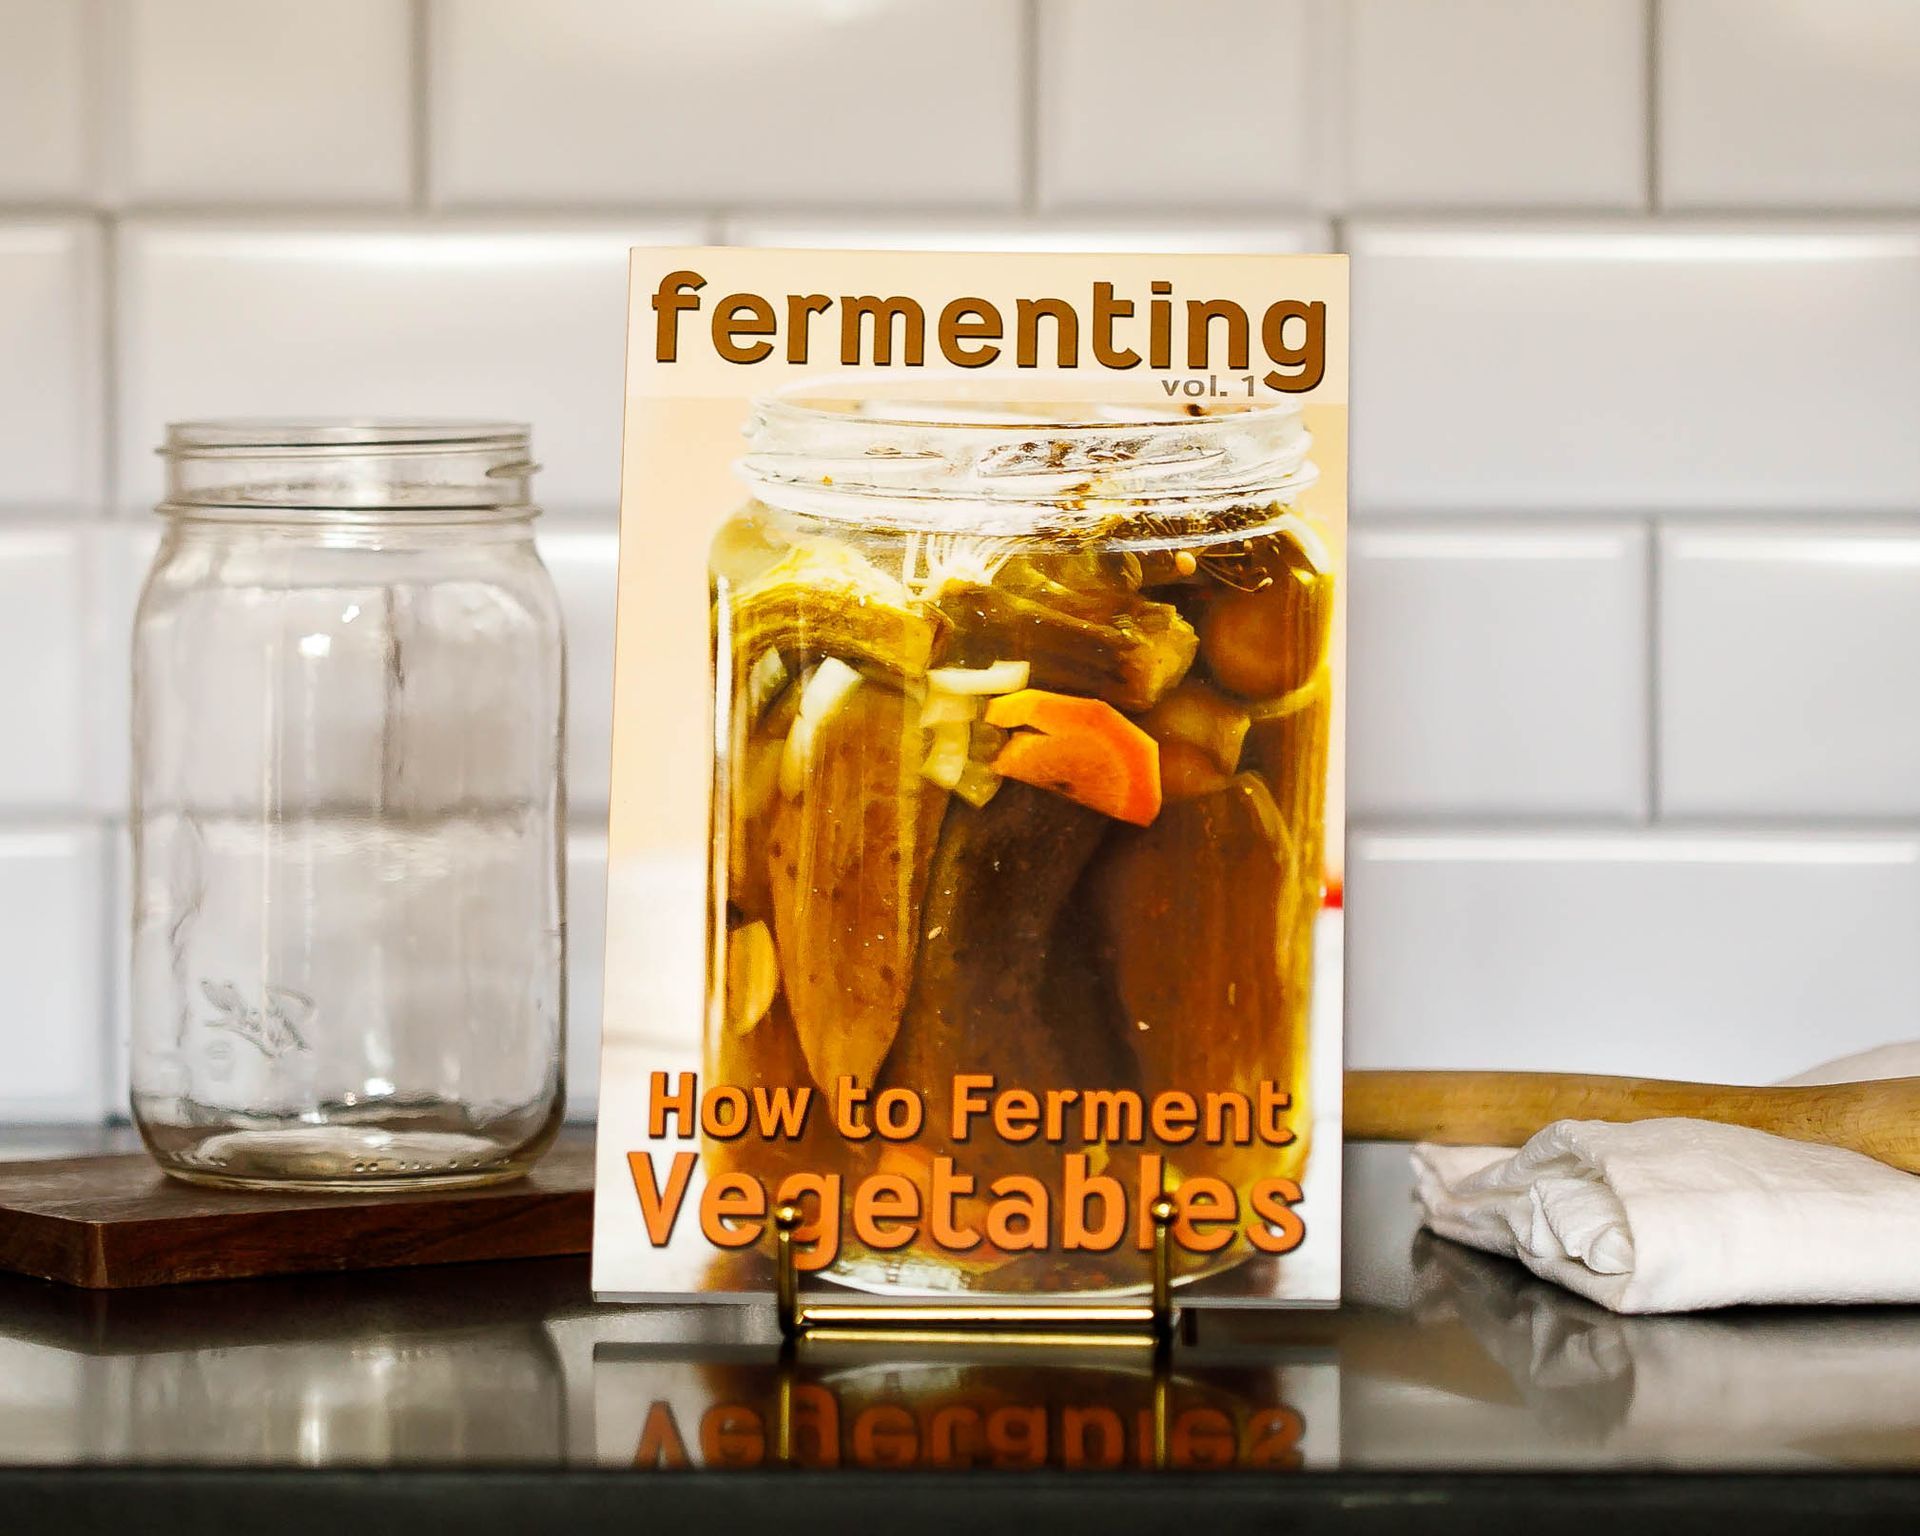
Visiting the farmer's market each week is a great way to get motivated for fermenting vegetables. Here in Portland, Oregon, my local market is already filled with so many vegetables, it's difficult to choose just one! However, I prefer to keep things simple, so this week, I'm going for fermented carrots. Fermented carrots are a wonderful, kid-friendly snack, and they take almost no time to put together. Garlic adds wonderful flavor, as do many herbs, such as thyme or rosemary. Today, however, I am keeping it simple, so just garlic cloves for a little added kick. Getting started, Get Fermented
by Kim You've seen a SCOBY. Do you ever wonder how the heck that flimsy disc of jelly is the link between sugary tea and a good glass of Kombucha? Please allow us to explain the process of fermentation. We're going to use some big words, but it's not that complex a process. The work of fermentation is the conversion of sugars into acids, gasses, or alcohol. That's it. Anything else reverts to that. Interestingly, fermentation has been a naturally-occurring process since forever. For one, it happens naturally in mammalian muscles - it's the production of lactic acid during intense exercise, i.e. when animals need energy faster than blood can supply oxygen. Humans have used it in food and drink production for thousands of years. Records show the first alcoholic drink made of fruit, rice, and honey dates from 7000-6600 BC. Fermentation was used for food preservation purposes long before the advent of the refrigerator. Within the context of food production, fermentation is the conversion of carbohydrates and proteins into alcohol or organic acids using microorganisms, like mold, yeast or bacteria. And the SCOBY? You guessed it - mixing a carbohydrate (like sugar) with a bacterial microorganism (SCOBY) can produce organic acids (as found in Kombucha). Let's get a little more specific. Ferment-specific molds, bacteria, and yeasts break down complex organic molecules, like proteins and carbohydrates, into smaller compounds. The first step is called glycolysis - when glucose is converted to pyruvic acid. During fermentation, pyruvate can be metabolized into compounds through either Lactic Acid Fermentation or Alcoholic Fermentation. Since we're talking food, we'll stick to the first one - Lactic Acid Fermentation. Lactic Acid Fermentation Lactic Acid Fermentation produces Lactic Acid Bacteria, which we'll call LAB. LAB are 'the good guys.' Lactic acid is what keeps food from spoiling. It also improves the digestibility of foods, increases vitamin levels, and proliferates healthy gut flora. Most importantly, LAB can withstand highly acidic environments with a lower pH - whereas 'bad' bacteria cannot. The LAB go on to produce different genus strains of Lactobacillales, which occur at various stages of fermentation and are responsible for different tastes and textures. Yum. It could help to think of Lacto-Fermentation as a party. First, the bacteria, mold or yeast creates an environment with a high acidity level. High acid means more multiplication. As the acid level increases, other species of friendly flora arrive and multiply as well. The party hits its peak as Lactobacillus are fermented into other species while sugars and starches are fully fermented out and taste and palatability are developed and enhanced. Sounds fun, right? We hope so because that's it. It's a big, friendly acid party that just gets better as the night wears on. What's cool - some people have made videos where they recorded the fermentation process in a time lapse, and they're super exciting to watch. So join in on the fun! Check out our starter cultures to start and watch the process of fermentation process yourself!
If you've been fermenting for long, you have probably heard the term "kefir grains." Of course, they are not grains at all; they are a colony of bacteria and yeast, similar to (but not interchangeable with) the cultures used to make kombucha and water kefir. Dairy kefir grains are easily the most versatile, useful culture to keep in your fermenting repertoire. They can last for years, and the results are excellent for gut health and digestion. Below is a list of some of the amazing things you can make with it: Smoothies: Add fresh berries and raw honey for a high protein, belly soothing treat. Soft cheese: Get your probiotics by eating cheese! Check out our basic soft cheese recipe. Pancakes or waffles: Boost the protein in your breakfast by adding kefir or kefir cheese instead of milk or water. Culture for cheese: Use as a culture for many kinds of cheeses, including cottage cheese, blue and white mold ripened cheeses, cheddar, and mozzarella. Sour cream: Grow your grains in heavy cream instead of milk. It makes a fabulously thick, slightly sour cream that can be used in any recipe calling for sour cream or creme fraiche. Pet food: Dogs, cats, chickens and pigs all love it, and unlike other dairy products, it is good for their bellies. We use it as a treat for training. Skin care: The acids in kefir make an excellent, nourishing treatment for hands and faces. Use as a mask on your face, and rinse with warm water and a clean washcloth. These are just a few of the fantastic things you can make and do with kefir. Get some today and give us your ideas in the comments!
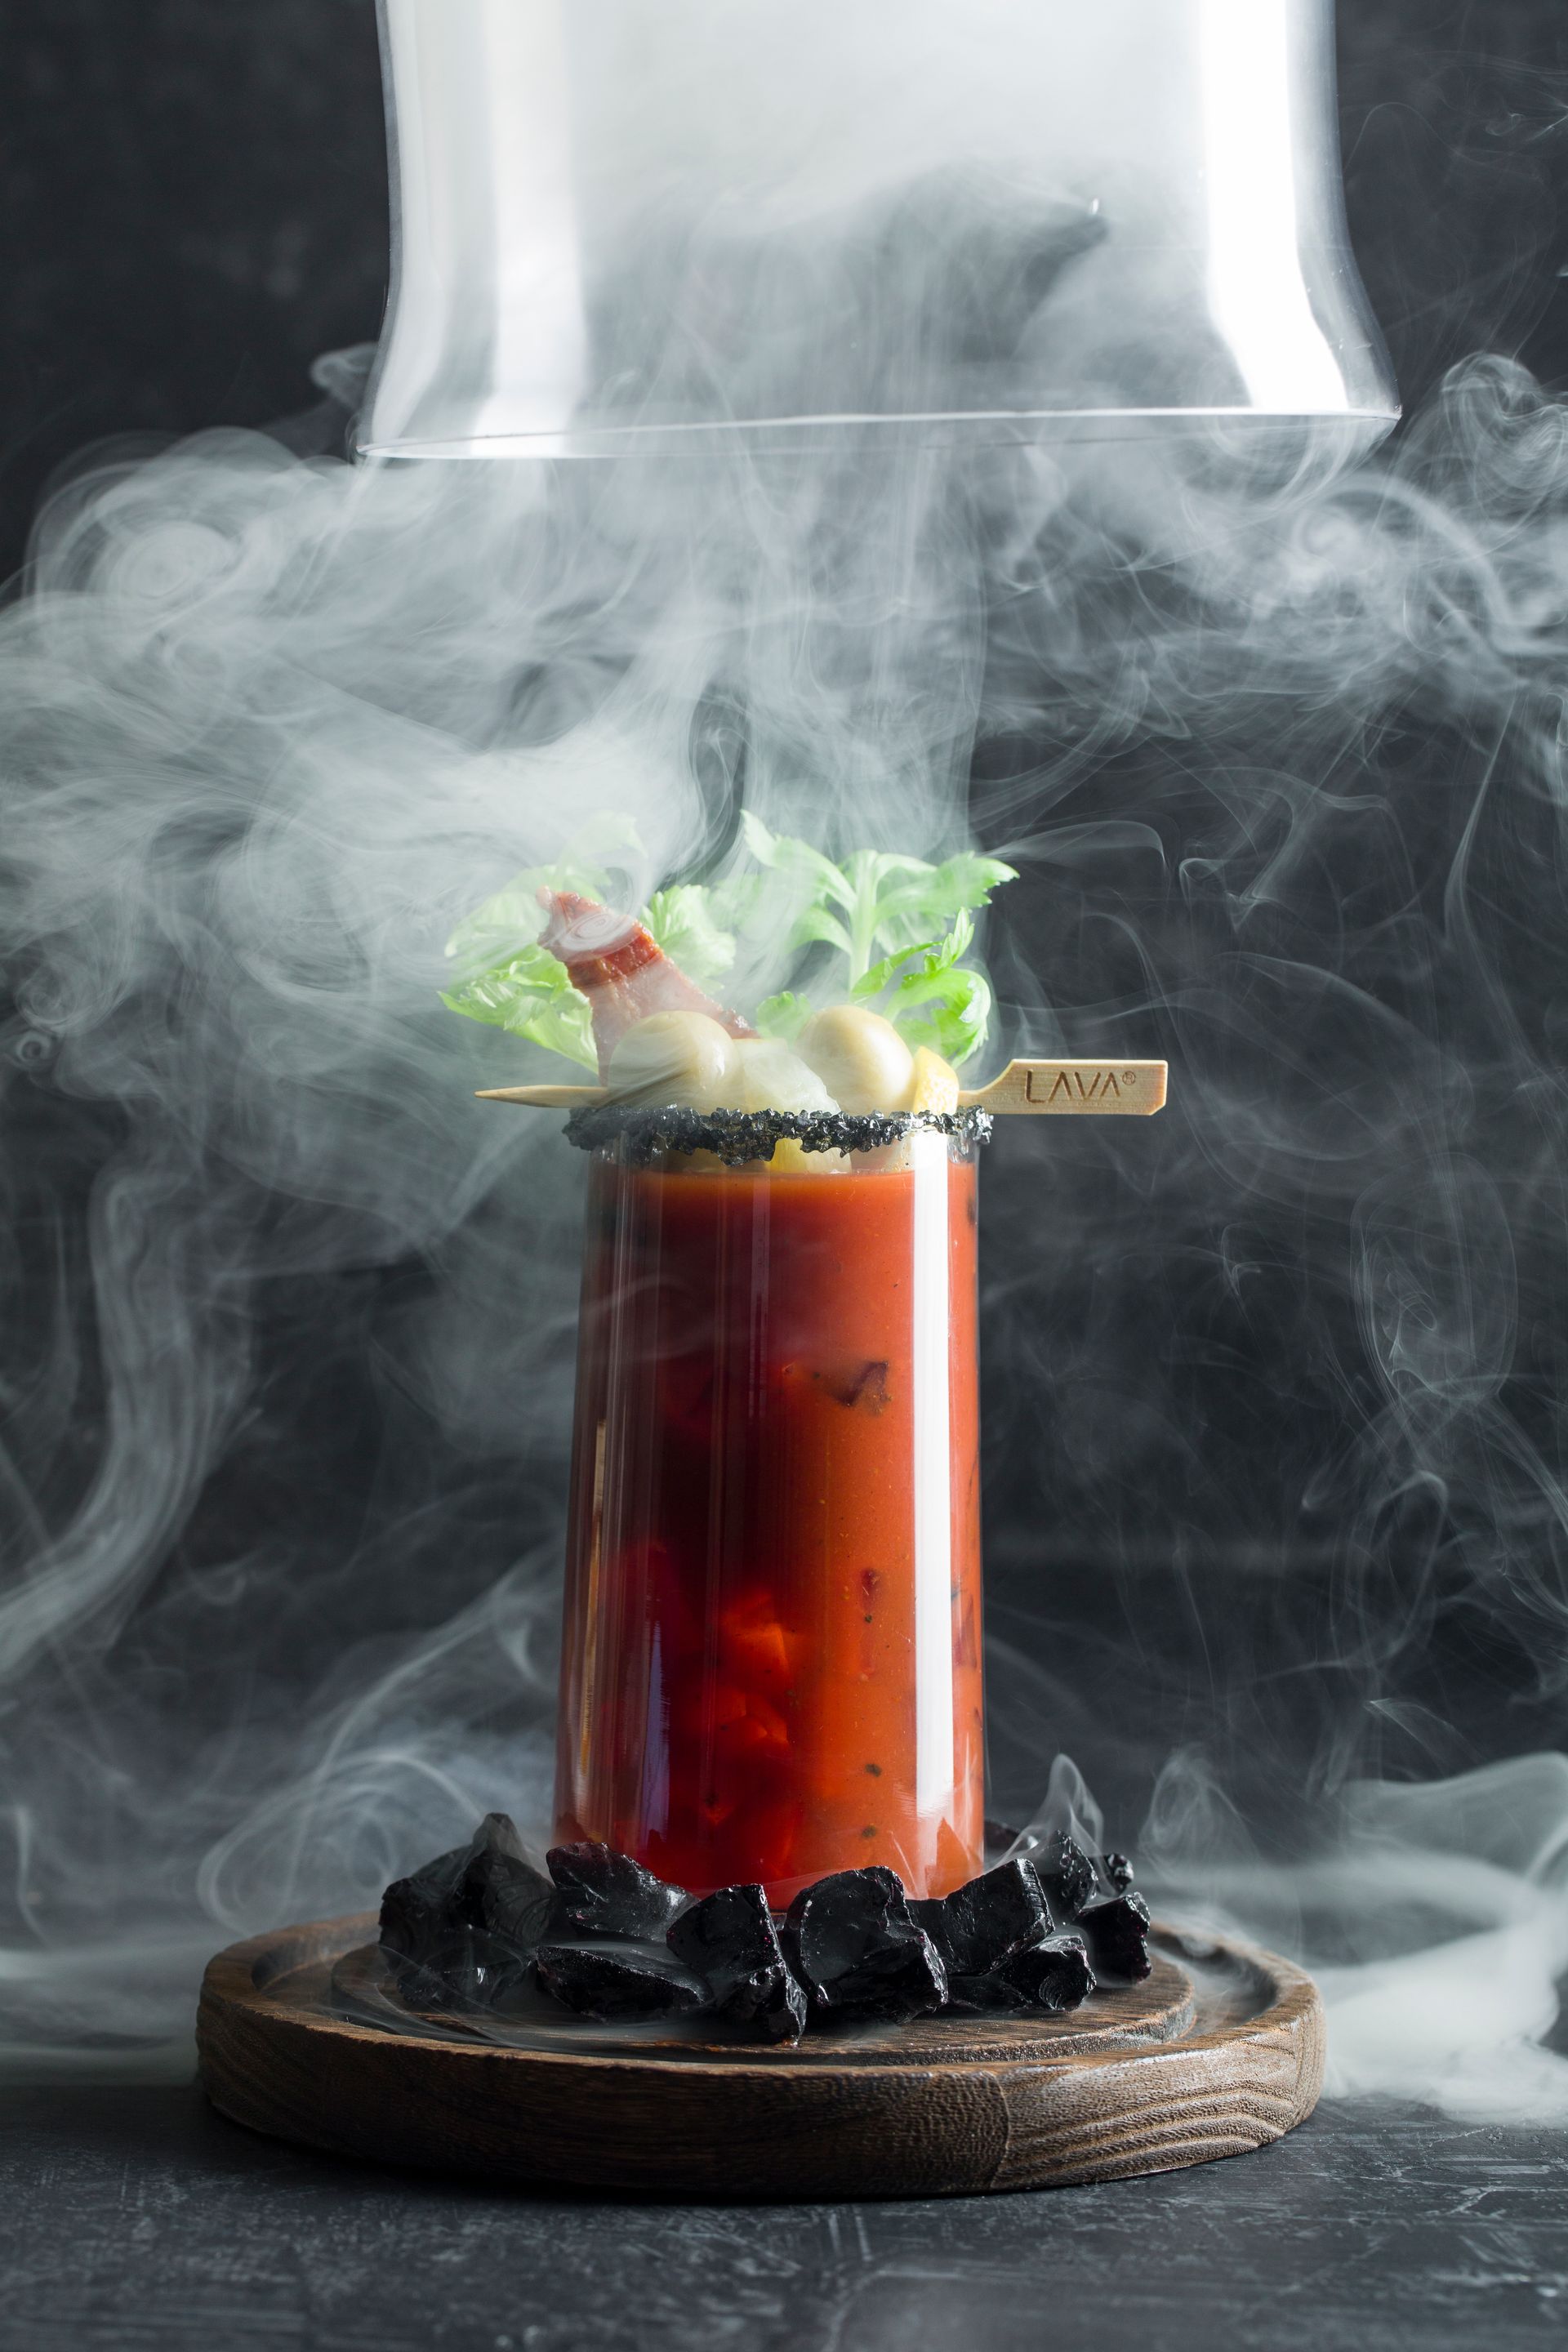
Looking for a fun way to incorporate fermented foods into your next party? Wow your friends with a Fermented Bloody Mary! All the goodness of fermentation, but with a little kick. You can pretty much ferment everything that goes into it- tomatoes, peppers, horseradish, Worcestershire, etc. Brine from your ferments also makes a great addition. Be careful if you add any additional salt - taste it first, as the fermented additions usually are salty enough. Ingredients can be increased or decreased, to your liking. Regular tomato juice can be added to balance out the salt factor if needed. Recipe for two: 1 cup fermented, pureed & strained tomatoes (straining is optional) 1/2 tsp. fermented horseradish (store bought will work too) 1/2 tsp. Worcestershire sauce (store bought will work too) 1/2 tsp. lime juice (this could be fermented too!) 1/2 tsp. fermented pureed hot peppers (store bought pepper sauce is fine) 1-2 oz. vodka (more or less, to taste) Rim a glass with a bit of celery salt (optional), mix ingredients together and pour into a glass over ice. Garnish with a celery stalk and skewered fermented veggies- peppers, carrots, onions, green beans, asparagus, olives- you name it! Enjoy with friends! Cheers!

by Suzanne Now that fall is upon us, you may think culturing time is over. Not at all! Some cultures like vegetables and kombucha are not quite as sensitive to lower temperatures. However, yogurt, buttermilk, sourdough, and water kefir need to be kept at least at 68ºF to culture well. There are lots of easy ways to keep cultures warm enough to continue through even the chilliest weather. For each method, test the temperature in the new culturing area to be sure it doesn't get too warm.1. Wrap it up! Often, when the temperature is just a tad too chilly for culturing, a towel or other thick cloth wrapped around the jar does the trick. If you're a crafty type, try making a simple sleeve to fit your culturing jars, like this one.2. Steal some warmth. Many electronic devices that you keep plugged in all day and night give off just a bit of warmth. Move your yogurt or water kefir onto or near the appliance, with a towel in between, just in case.3. Use Your Pilot light. Do you have a gas stove with a pilot light? Move your culturing jar there overnight. But make sure to leave some kind of warning sign so others in the house do not turn on the oven and bake your cultures.4. Raise it up! Heat rises. Take advantage of that fact by moving your culturing jar to the top of the fridge or a high shelf.5. Seedling Mat. If it gets too cold, try a seedling heat mat, found at local nurseries or hardware stores. These little mats raise the temperature by 10-20ºF above the room temperature. You may have to make some adjustments to get it just right for culturing, but it's a handy item for the coldest months.
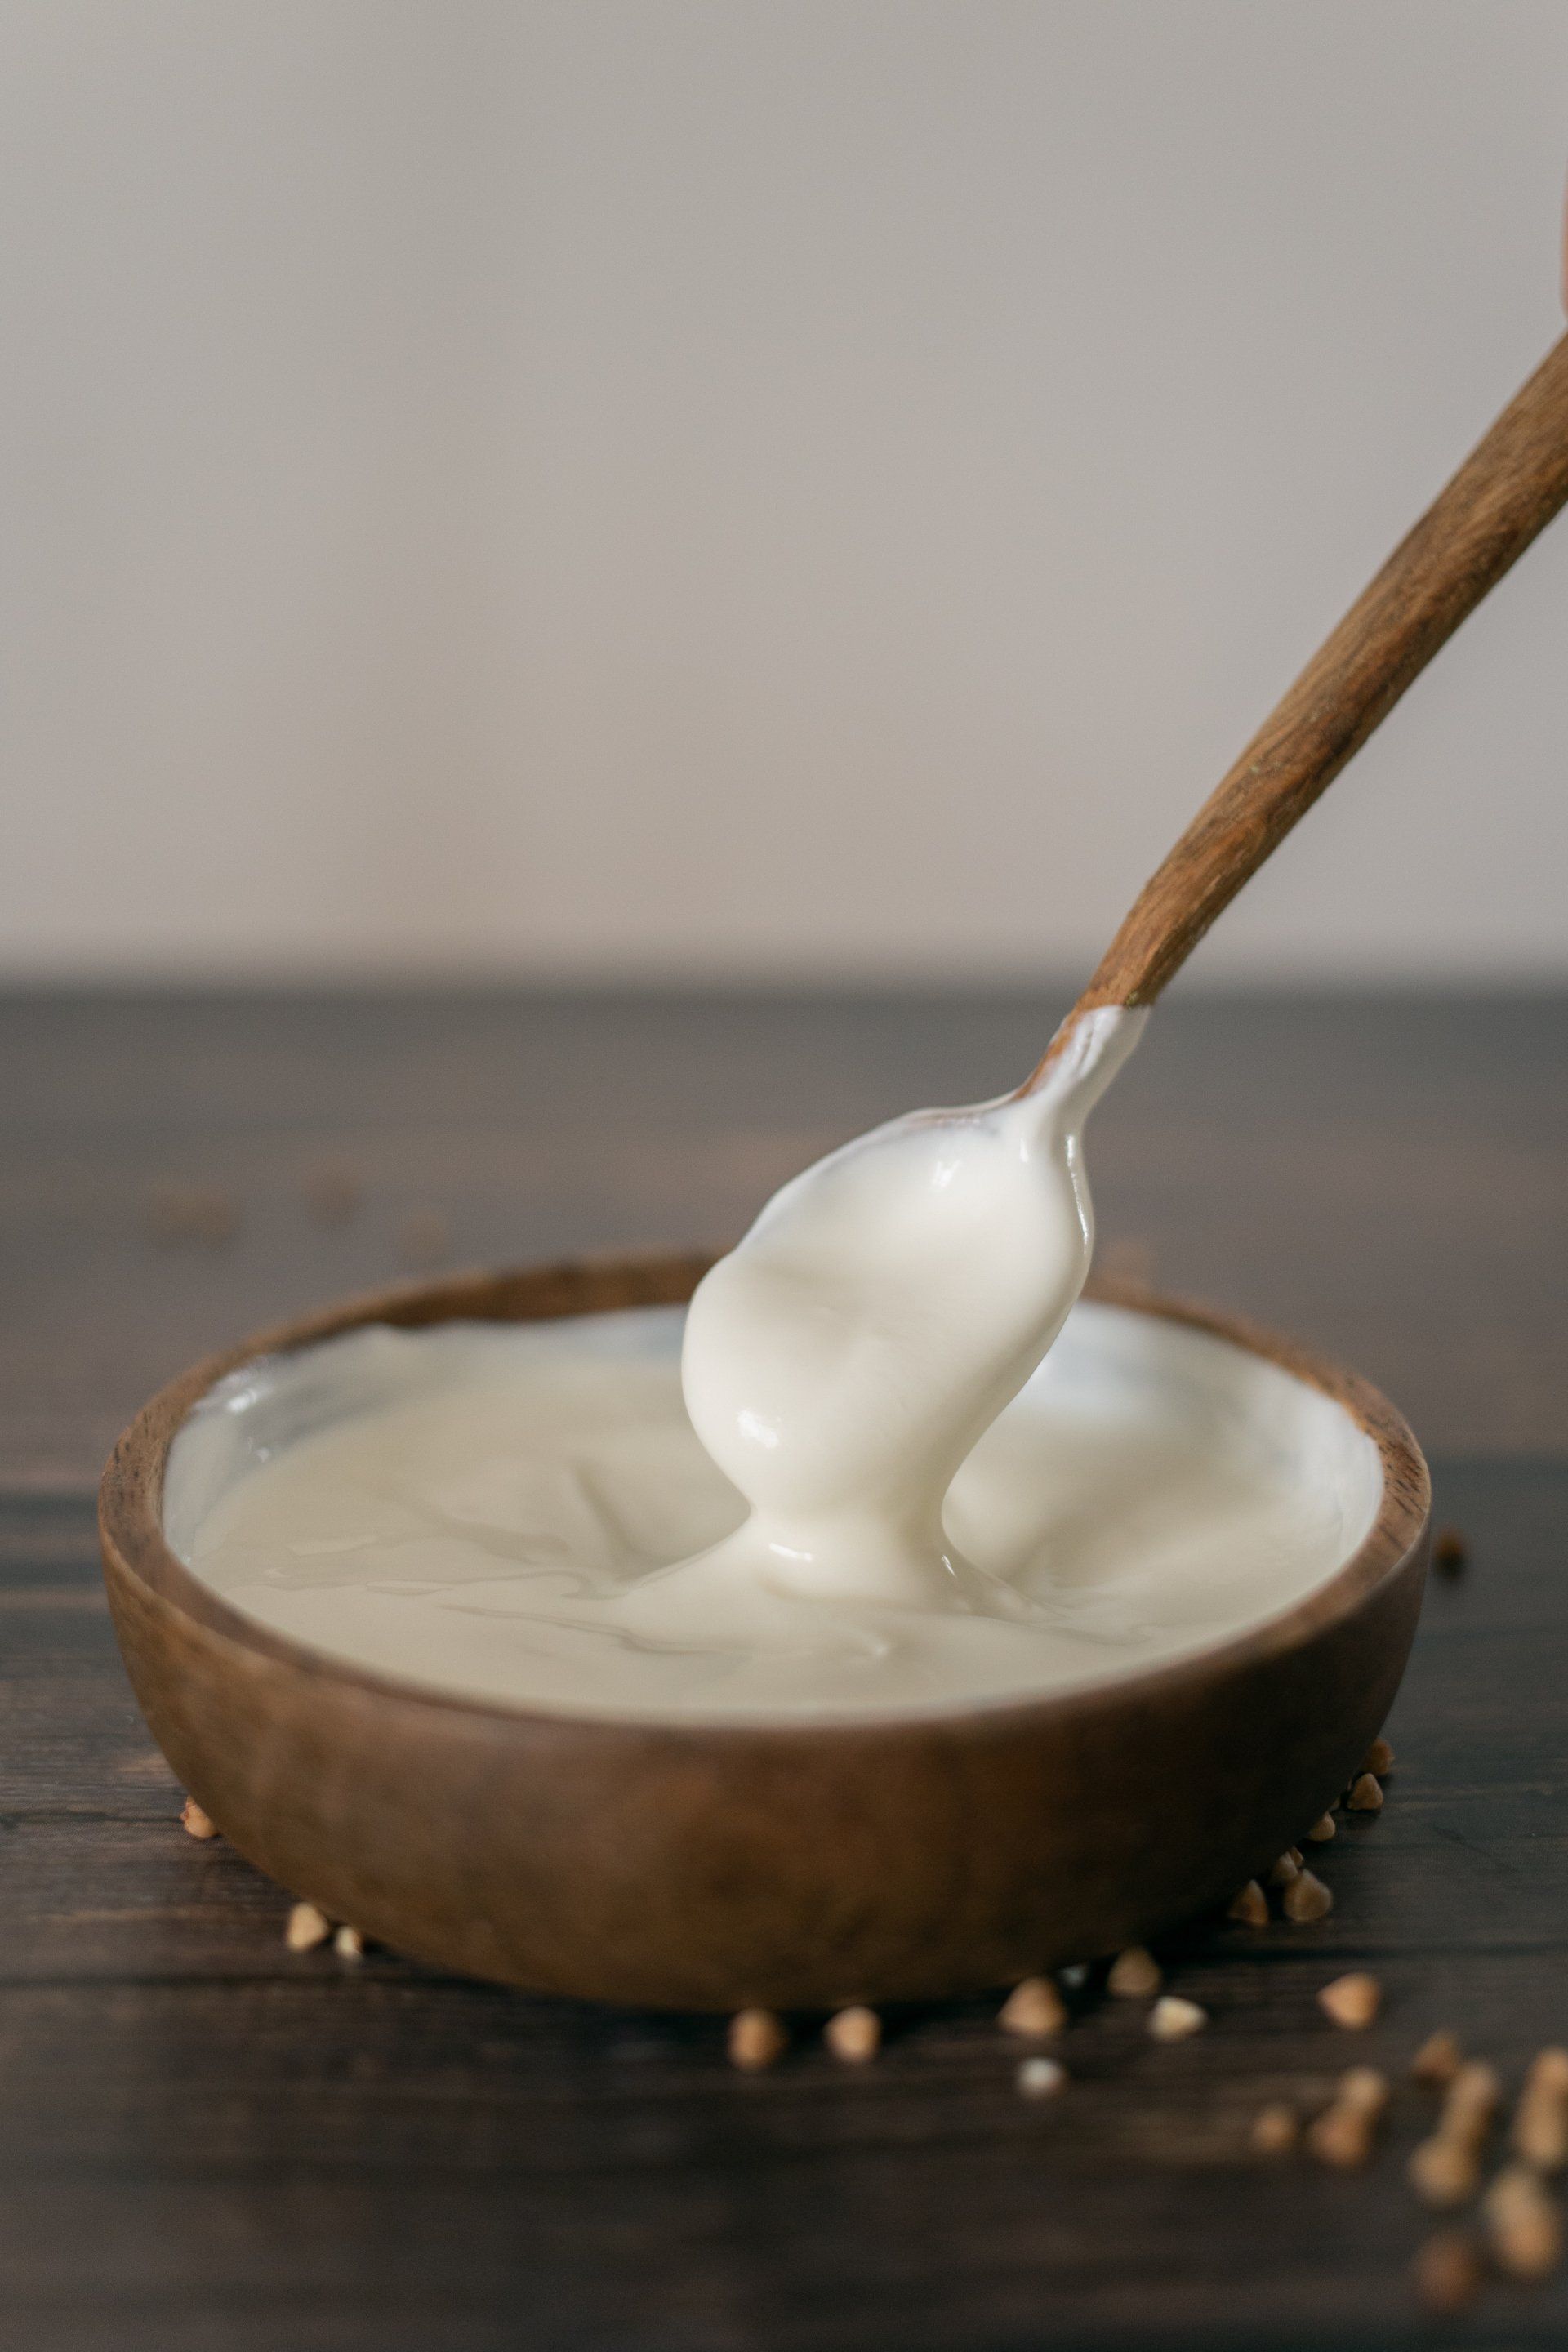
by Suzanne Recently, I shared with you how to use NWF Buttermilk Starter to make beautiful buttermilk. Did you know that you can also use a portion of your weekly buttermilk to make delicious sour cream? Here's how you do it: Step 1: Pour 1 pint cream into a clean glass jar. Make sure the cream is not ultra-pasteurized and does not contain other ingredients. It should be just plain old sweet cream. Step 2: Add 2-4 tablespoons fresh cultured buttermilk. Stir in until the buttermilk is completely mixed into the cream. Step 3: Cover the jar with a breathable lid, such as a coffee filter or cloth. Put on a rubber band to hold the cloth in place. Step 4: Leave the cream in a warm place to ferment for 12-18 hours. The best temperature range is 70-77ºF. Step 5: Enjoy your fresh-tasting sour cream!

by Suzanne Before the yogurt boom in the 1960's, buttermilk was the cultured dairy food of choice for millions of Americans. Today, it takes a back seat - we might even say a spot in the trunk - to yogurt and milk kefir. But it doesn't have to! Buttermilk is easy to make at home and has many uses aside from plain old drinking or soaking your cornbread. Step 1: Gather ingredients and supplies. You'll need: Glass jar Fresh pasteurized milk Buttermilk starter Spoon for stirring Breathable cover and rubber band to secure it Step 2: Pour 3-4 cups fresh milk into your glass jar. Sprinkle the buttermilk starter on the surface of the milk. Let the starter sit for a minute or two to moisten. This step helps in stirring the powder in more thoroughly and prevents clumping. Step 3: Stir the powdered starter into the milk until thoroughly mixed. Step 4: Cover the jar with a breathable lid, such as a coffee filter or double layer of cheesecloth. Secure with a rubber band. Let the jar sit in a warm place, 70-78ºF. After 12 hours, check to see if the buttermilk has set. When set, it will pull away in a mass from the side of the jar, like in the photo below. It may take up to 48 hours, so keep checking on it. Once it has set, put a tight lid on the jar and store in the refrigerator. That's it! And the best thing about this buttermilk starter is that it's reusable . So make sure to save about ¼ cup of cultured goodness from each batch, to use as starter for your next batch. More on buttermilk later. Right now...time to make pancakes!
by Stacie Before We Talk Kombucha Cheese... The first time I tell people that I make cheese, they inevitably look shocked. "You MAKE cheese?" they say, and look impressed. The truth is, there is no reason to be impressed. Cheese is easy, and I firmly believe that with a little practice and help, anyone can make it. Cheese is one of the oldest foods on the planet. The legend is that one ancient day, a shepherd child used a sheep or goat's stomach as a convenient milk pail. The rennet in the stomach caused the milk to curdle, and everyone realized that the resulting curds and whey were delicious. Most modern cheeses are slightly more complicated than that, but not all of them. There are plenty of quick, simple cheeses that you can make at home, using cultures and equipment that you already have. The best way to start is with an acid cheese. I like to use kombucha for mine; the flavor is mild, slightly sweet, and delicious. If you don't have any kombucha , that's okay. Acid cheese can be made with vinegar or lemon juice instead. Recipe: Basic Kombucha Cheese So as Julia Child would say: don't be afraid! Mistakes and messes are guaranteed, but that's okay. In the world of cheese making, mistakes can almost always be drained, salted, and eaten anyway. Have fun! Ingredients:1 gallon milk (not UHT pasteurized) 1 cup kombucha or raw vinegar (you may not need all of it) Sea salt Large stockpot Wooden spoon Cheese or candy thermometer Fine colander Cheesecloth Pour milk into stockpot and heat very slowly, stirring often. Begin checking temperature when steam rises. Check and stir regularly until temperature reaches 190F. Slowly pour in kombucha, stirring gently. Stop pouring when visible curds form and turn off heat. Just added kombucha! Note the curds beginning to form and the clear, yellowish whey floating to the top. Allow to rest for 15-30 minutes. Drain curds in a colander lined with cheesecloth, and salt to taste. A neat trick for draining curds. Save the whey for other projects! And that's it! Let us know how it works for you!
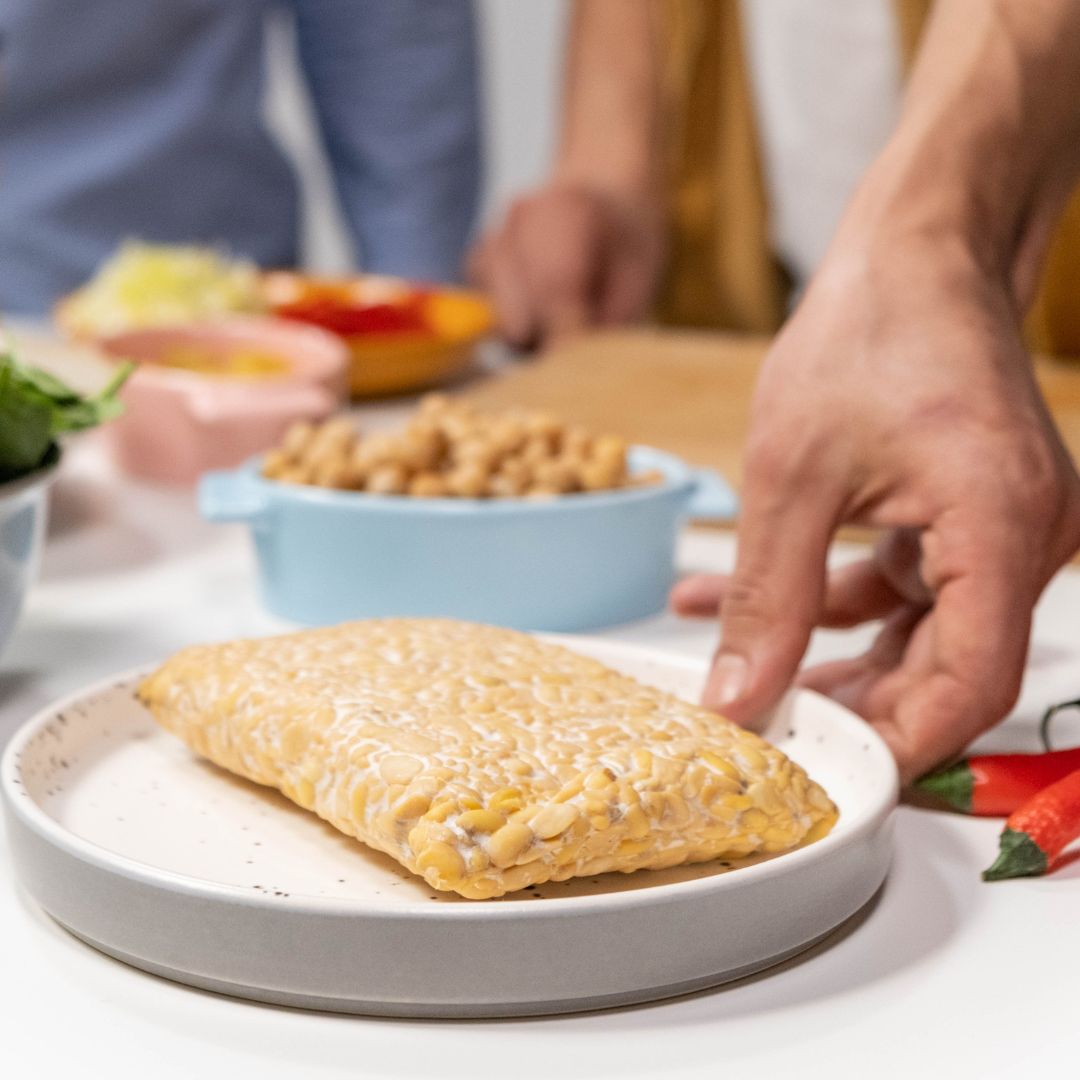
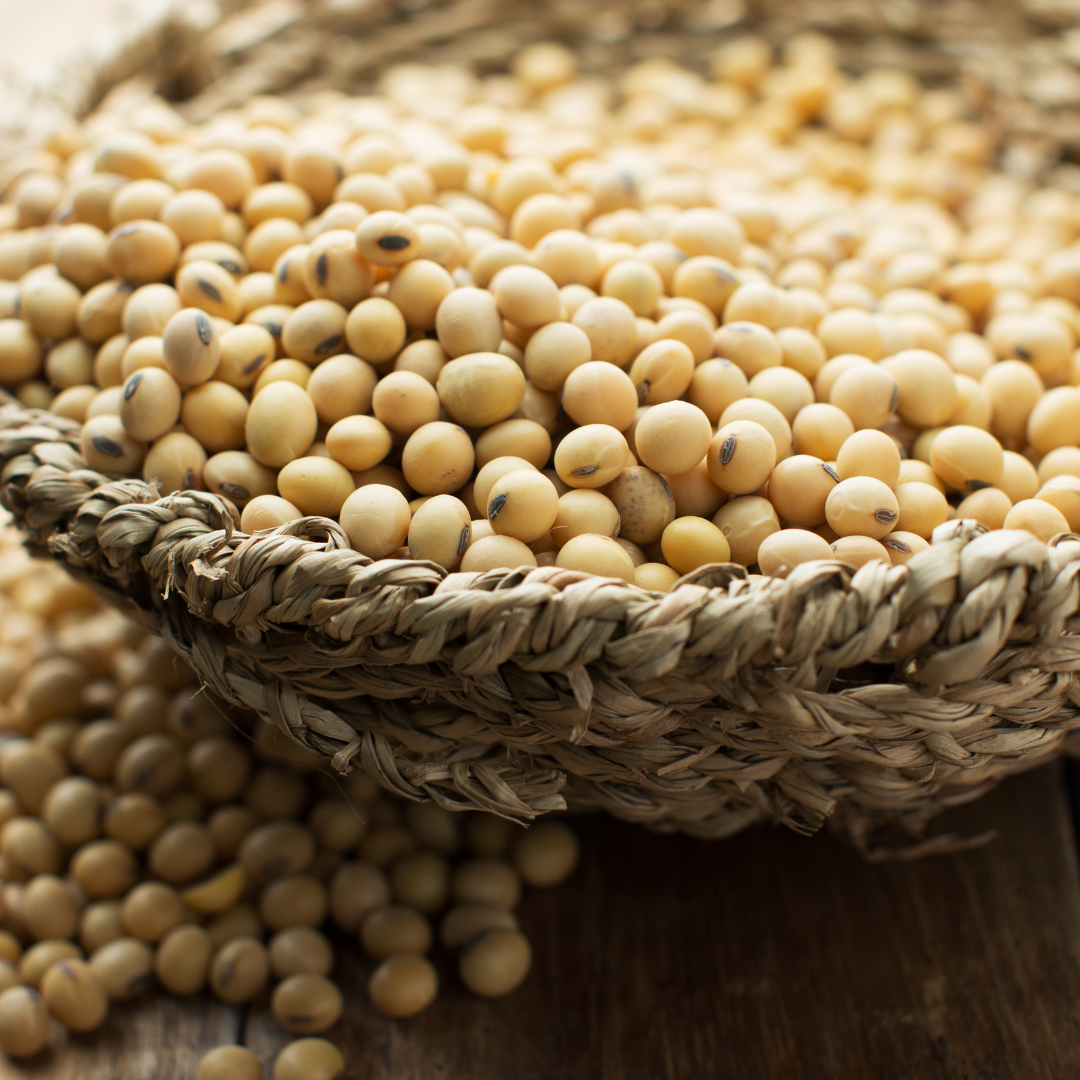
Let's talk Tempeh. This protein & vitamin-packed fermented food is traditionally made with soybeans, but can also be made with other beans, grains, or a combination of both. Barley & oats can even be used. It originates from Indonesia, but is used worldwide in vegan & vegetarian cuisine. A food dehydrator or other means of maintaining an 85-90 degree temperature is needed. Tempeh is made by inoculating the beans with a starter culture (basically fungus spores) that spread throughout the beans, knitting them together into a mat of white mycelium. Don't let this scare you! The spores will not take you over like Invasion of the Bodysnatchers - this stuff is good for you :)The process is surprisingly simple: The beans are soaked, dehulled (skins removed), partly cooked & dried. Next the starter culture & an acidulant (usually vinegar) are thoroughly mixed into the beans. They are then pressed into a thin layer, usually in a perforated plastic zip bag, and allowed to ferment for 24-48 hours. The finished "cake" can then be flavored by marinating & seasoning, and is often cut into pieces and then fried for a crispy texture. It can be eaten alone, or used in sandwiches, salads, stir fries & stews. It freezes well, and can also be dehydrated for future use. I find it's a fun culinary challenge to experiment with flavorings & uses, as well as a "mad scientist" project. Tempeh is not just for vegans & vegetarians anymore! Give it a try - you won't be sorry ;)
