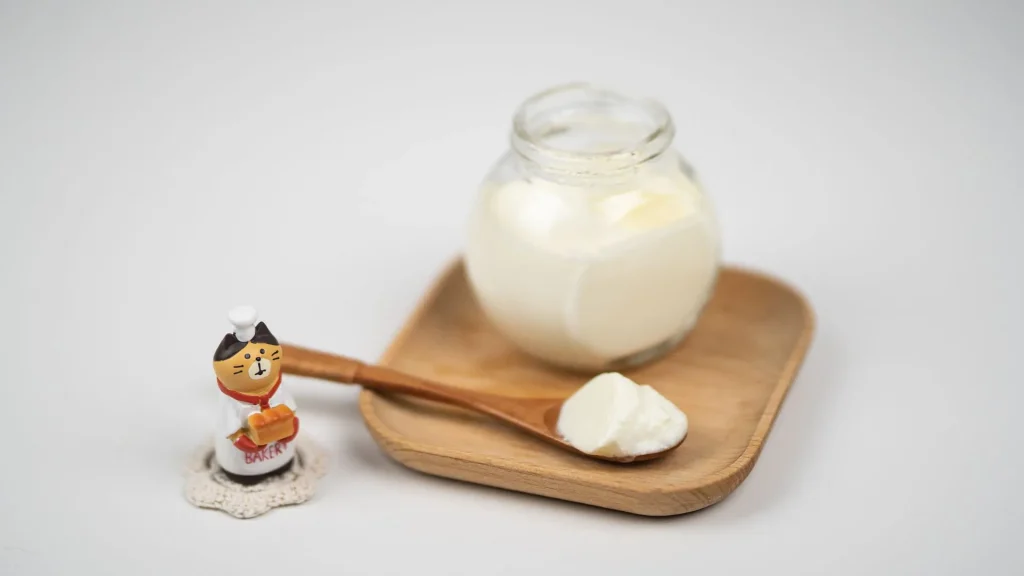
How are mesophilic and thermophilic yogurts different from each other?
How are mesophilic and thermophilic yogurts different from each other?
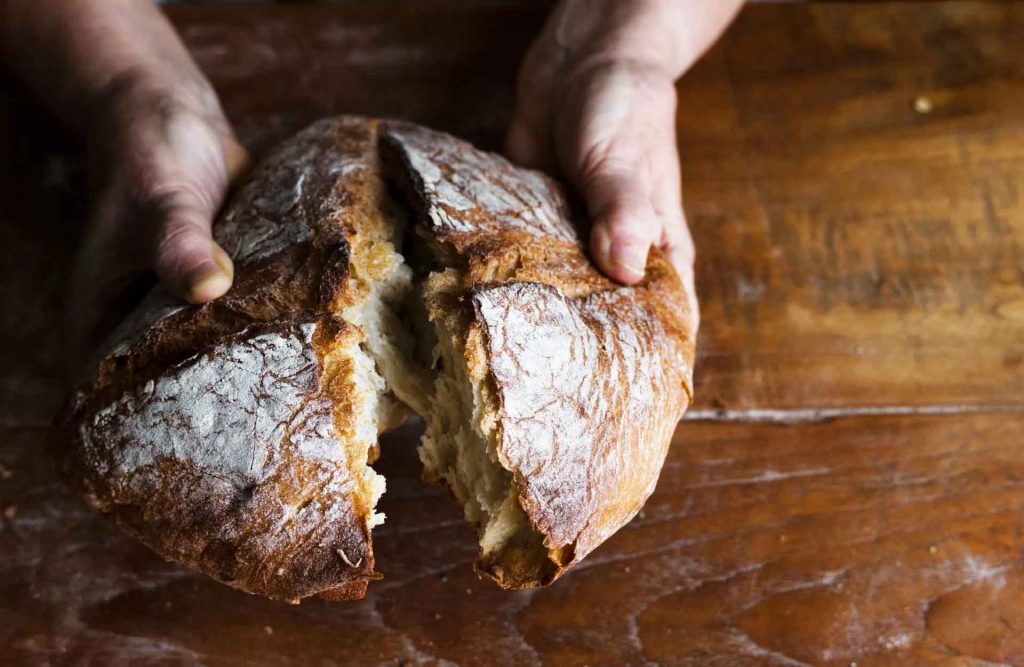
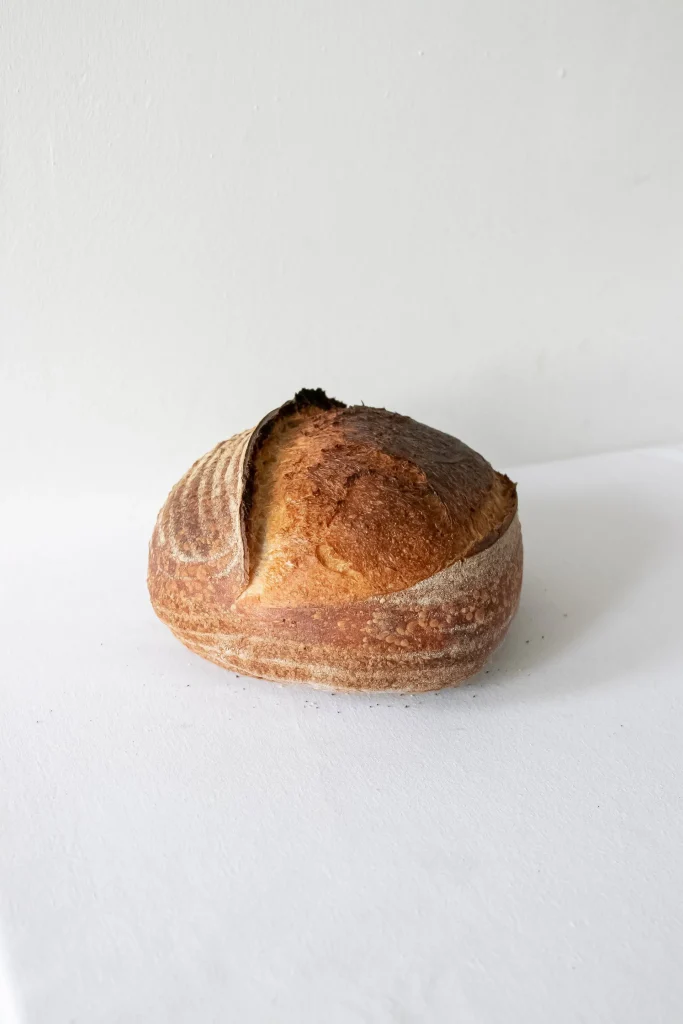
Bake Real Sourdough At Home With The Yukon Sourdough Recipe
Bake Real Sourdough at Home with the Yukon Sourdough Starter
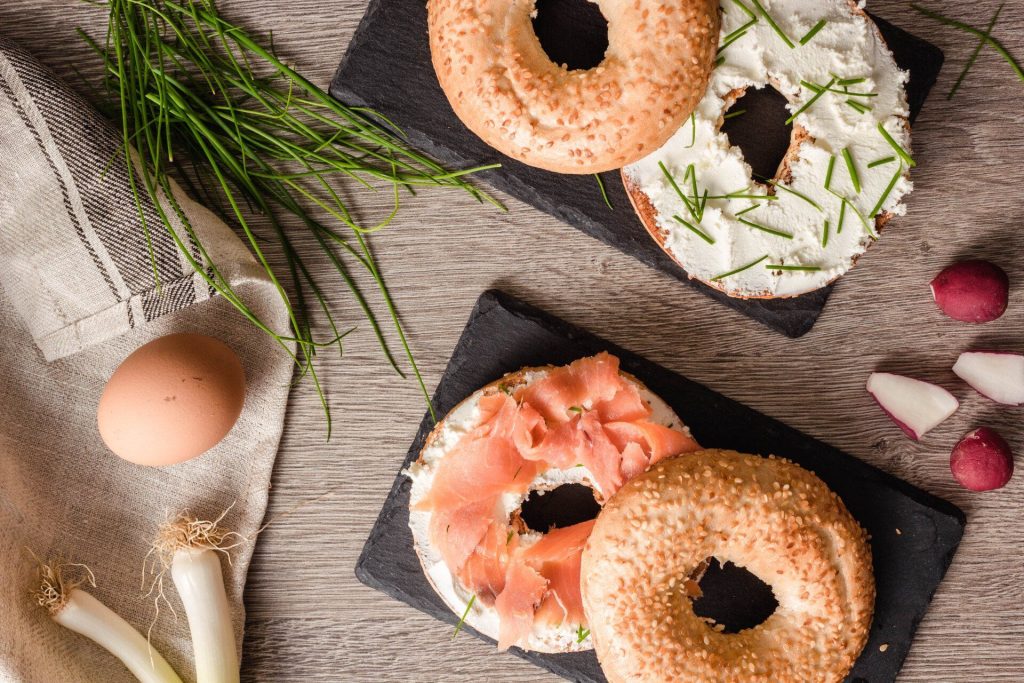
Sourdough Bagel Recipe
Sourdough Bagel Recipe Ingredients 1¼ cups warm water (254 grams)

Sourdough Pizza Crust
Sourdough Pizza Crust Ingredients ¼-⅓ cup sourdough starter, active and bubbly
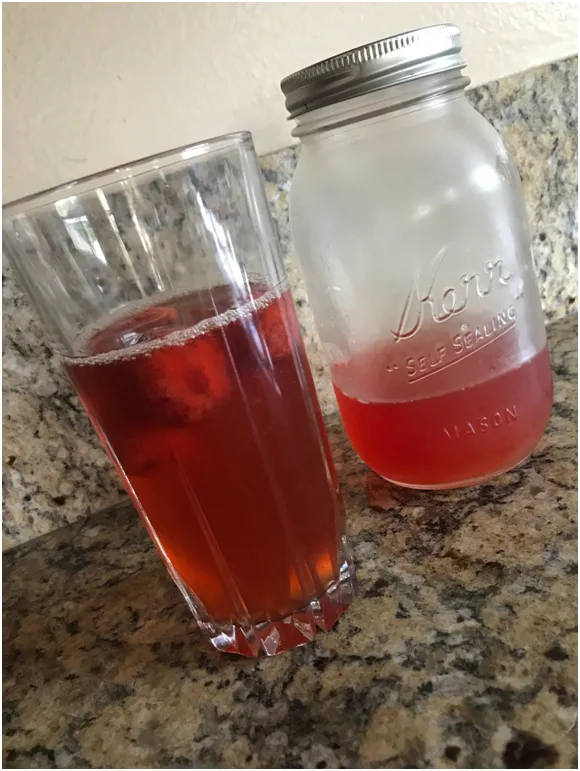
Kombucha Brewing Tips for Summertime
Kombucha Brewing Tips for Summertime In warmer weather, kombucha fermentation
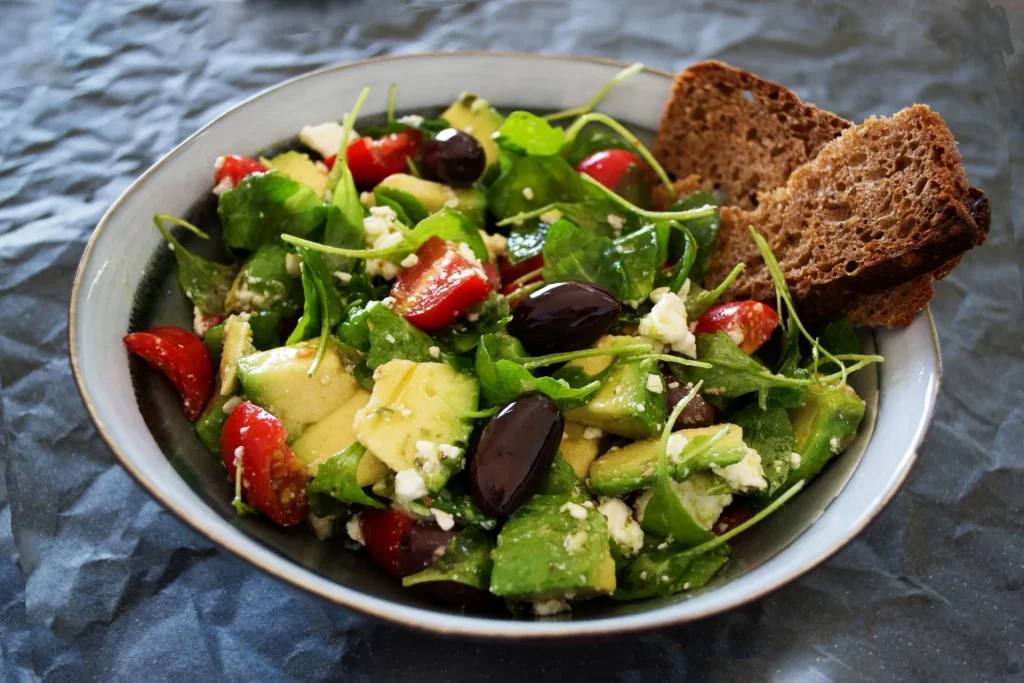
Kombucha Salad Dressing
Kombucha Salad Dressing Not just a salad dressing- great for
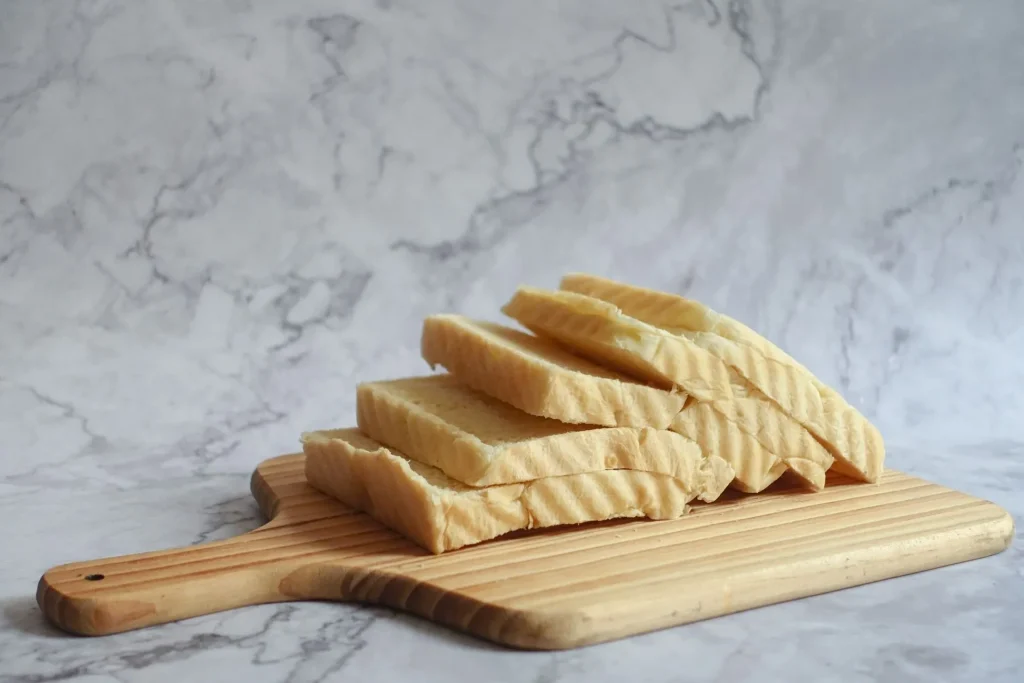
Sourdough Sandwich Bread Loaf
Sourdough Sandwich Bread Loaf Ingredients 4⅓ cups all-purpose flour, spooned

Kombucha Marinade
Kombucha Marinade Try it with meats, veggies, tempeh, tofu &

Apple Cinnamon Water Kefir
Apple Cinnamon Water Kefir Ingredients 4 cups finished water kefir
Bread Machine (From King Arthur Flour)
Sourdough Rye Bread – For Bread Machine (From King Arthur